

I remember one week when my schedule was bursting at the seams, and I needed a dessert that wouldn’t derail my carefully planned meals. That’s when I turned to my trusty Chocolate Puff Pastry. This recipe became a strategic win, fitting perfectly into my weekly meal planning without adding unnecessary stress. With a batch prepped in advance, I saved nearly 30 minutes daily, which I could use to focus on other dinner components or simply relax with my family.
Chocolate Puff Pastry isn’t just a treat; it’s a planning tool. Its flaky, chocolate-filled layers come together quickly, and you can make it ahead to freshen up later. I often place this homemade chocolate puff in my dessert rotation because it checks off all the boxes: fast prep, easy storage, and consistent deliciousness.
If you’re a busy cook looking for a flaky chocolate treat that fits neatly into a real-life meal plan, keep reading. This chocolate pastry is all about smart prep and sweet payoff, no last-minute chaos needed. Plus, once you try this recipe, you’ll understand why it’s become a rotation regular for me and many meal planners who want meals that deliver without complication.
Your Shopping List:
For an efficient and planned Chocolate Puff Pastry, grouping ingredients helps when you’re navigating busy grocery trips. Here’s what I use:
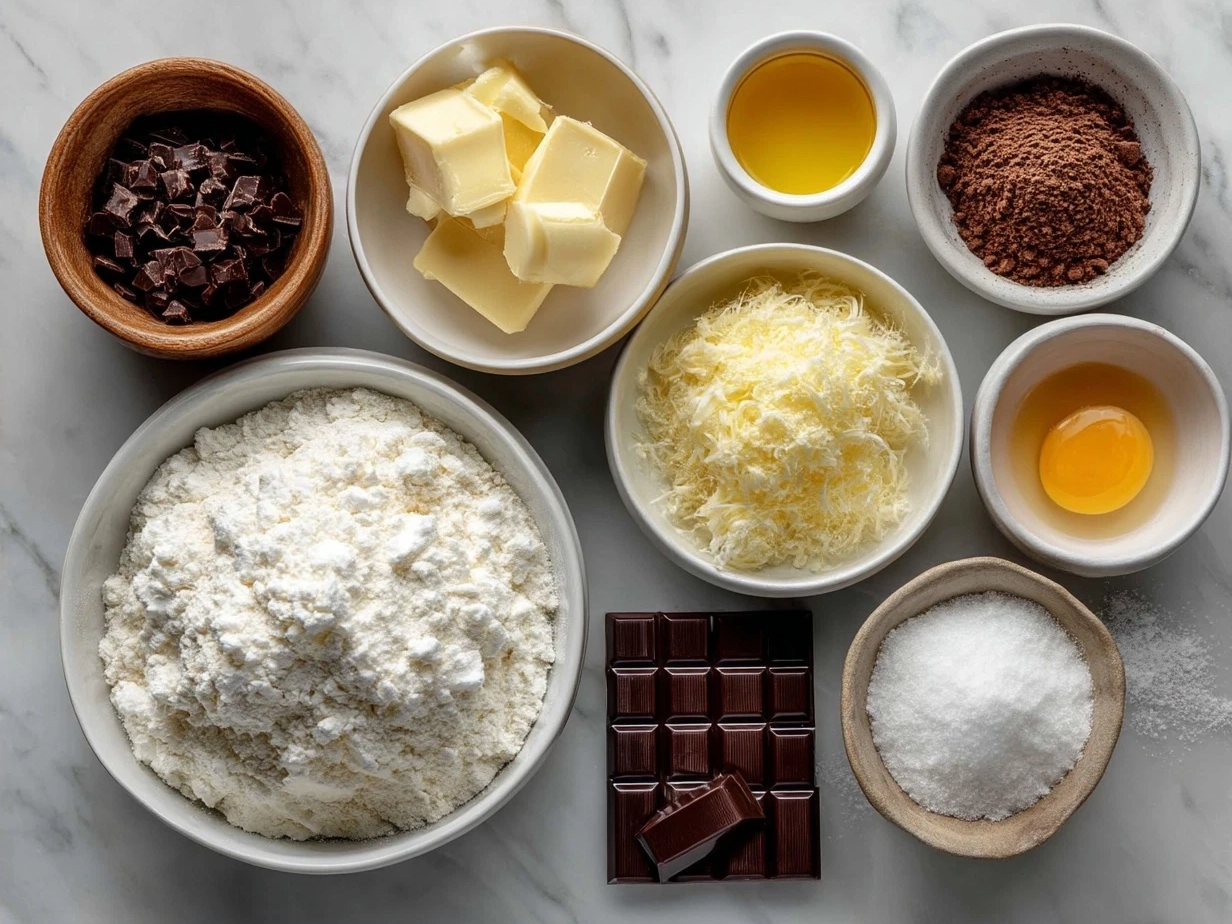
- 1 sheet of frozen puff pastry (about 8×8 inches): I choose frozen for easy storage and consistent flaky texture.
- 100g bittersweet chocolate or chocolate chips: This chocolate pastry filling works well with versatile chocolate that melts evenly and stores long.
- 1 tablespoon unsalted butter: Adds richness to your chocolate-filled pastry without overpowering.
- 1 egg, beaten (for egg wash): This gives your chocolate puff the perfect golden finish.
- Optional: powdered sugar for dusting
These ingredients all store well in a typical kitchen setup. Frozen puff pastry keeps for months in the freezer, and chocolate has a long shelf life if stored in a cool, dry place. Butter and eggs are common staples you might already have or can plan to use in other recipes during the week.
When you shop for your Chocolate Puff Pastry, group your frozen items and baking ingredients to save time. Plus, the puff pastry sheet can often be found pre-rolled and ready to go, which is a huge time saver.
I also plan to repurpose chocolate and butter in other meals, making this a strategic part of my weekly shopping. For example, leftover chocolate can enhance a breakfast granola bar, and puff pastry might double in savory dishes like spinach and feta puff pastry twists.
Buy these ingredients thoughtfully, so your chocolate puff pastry fits into smooth meal prep flow, with less running around and more cooking confidence.
The Game Plan:
Making Chocolate Puff Pastry feels indulgent but can be methodical if you approach it right. Plan for about 30 minutes from start to table with this flaky chocolate treat. Here’s the step-by-step path I follow, which keeps the process clear and organized:
- Thaw the puff pastry: Remove your frozen puff pastry from the freezer about 20-30 minutes before baking at room temperature. This timing helps avoid soggy pastry but keeps flexibility in your schedule.
- Prepare the chocolate filling: While your pastry thaws, melt 100g bittersweet chocolate with 1 tablespoon of butter in a heatproof bowl using a double boiler or microwave. Stir until smooth—this step only takes about 5 minutes.
- Roll and cut: Once thawed, lay the puff pastry flat on a lightly floured surface. Cut it into 4 equal squares. This size is strategic—small enough for quick baking, large enough for an indulgent portion.
- Assemble the chocolate-filled pastry: Spoon the melted chocolate onto half of each square, leaving a small border to seal. Fold the pastry over to form a triangle or rectangle. Press edges firmly with a fork.
- Egg wash for a golden finish: Brush the tops with beaten egg to help your chocolate puff pastry develop that irresistible golden color in the oven.
- Bake: Place pastries on parchment-lined baking sheets and bake at 400°F (200°C) for 15-20 minutes until puffed and golden. Bake times may vary slightly depending on your oven, so keep an eye from 15 minutes onward.
- Cool slightly before serving: These fold-open pockets of chocolate are best enjoyed warm. Let them rest 5 minutes to avoid burnt fingers and help the chocolate set.
If you’re planning to make this ahead, assemble the pastries but don’t egg wash or bake right away. Freeze them flat on a tray, then transfer to a freezer bag. When ready, apply egg wash and bake straight from the freezer—add a few extra baking minutes. This make-ahead step saves precious weekday minutes and keeps your weeknight rotation stress-free.
A planning checkpoint: When your chocolate puff pastry is cooling, it’s the perfect time to start prepping tomorrow’s meals or wash up for a calm kitchen reset. While your chocolate pastry bakes, batch prep veggies or pack lunches to stay ahead.
I’ve tested batch cooking this chocolate pastry for dessert backups. If you bake them fresh, store leftovers tightly wrapped at room temperature for a day or two, or freeze baked pastries for up to a month.
For more inspiration on efficient chocolate puff pastry desserts, check out this quick Chocolate Puff Pastry in 20 minutes for an easy version, or try the portable Mini Chocolate Puff Pastry Rolls for bite-sized options your family will love.
Smart Serving & Meal Planning Ideas:

This Chocolate Puff Pastry fits seamlessly into weekly meal plans, especially as a planned dessert or weekend brunch treat. Its flaky layers complement both simple and celebratory meals.
Serving this flaky chocolate treat alongside fresh fruit or a small scoop of vanilla ice cream creates a balanced plate without extra prep steps. For weeks when I want to keep side dishes simple, pairing with seasonal berries saves time and adds freshness.
Plan on making your chocolate puff pastry a rotation regular on days when you want dessert but little cleanup, like after a busy weeknight meal. My strategic approach includes making these pastries on Sunday and enjoying them through midweek, which reduces stress and keeps things deliciously sweet but manageable.
Portion planning is easy with this chocolate-filled pastry. Make smaller sizes for snack-time options or bigger ones for sharing after dinner. If you scale up for a gathering, keep baking sheets handy and stagger the baking to serve warm batches.
Leftover chocolate puff pastry can be reheated quickly in a toaster oven or microwave, making it a smart leftover treat without losing that flaky texture.
For meal prep variety, consider swapping the bittersweet chocolate with almond or hazelnut spreads or adding chopped nuts for texture. This gives the pastry a fresh twist without much extra prep.
This recipe fits well with savory dishes like my rotation staple spinach and feta puff pastry twists, balancing flavors across the week.
When thinking about planning chocolate puff pastry into your weeks, think of it as a flexible dessert or brunch asset that saves time and adapts easily to your schedule.
Planning & Prep Questions
Q1: How far ahead can I prep this Chocolate Puff Pastry?
You can assemble the chocolate puff pastry up to one day ahead. For best results, assemble, freeze on a tray, then store in a freezer bag. Bake directly from frozen with extra baking time. This system locks in freshness and saves evening prep time.
Q2: What’s the best make-ahead strategy for Chocolate Puff Pastry?
My favorite approach is making the chocolate filling and assembling the pastry the day before. Skip the egg wash until baking day to keep surfaces dry. This makes weekday baking fast without last-minute messes.
Q3: Can I use store-bought puff pastry for this chocolate pastry?
Absolutely. Store-bought puff pastry like the frozen sheets makes this a quick dessert and an organized meal prep asset. No need to fuss with homemade dough, which fits busy lifestyles.
Q4: How do I fit this Chocolate Puff Pastry into my weekly meal plan?
Plan chocolate puff pastry as your weekend brunch or midweek dessert staple. Batch prep a few at once and store. Pair with simple sides that you prep alongside other meals to keep things efficient.
Q5: Is freezing baked chocolate puff pastry an option?
Yes. Bake as usual, cool completely, then freeze in airtight containers up to a month. Reheat gently in the oven for a fresh-out-of-the-oven experience.
Q6: Any tips on scaling this for larger families?
Double or triple the recipe easily. Prepare pastry squares in batches and bake in stages. Freezing unbaked pastries in portions lets you control freshness throughout the week.
Q7: How can I maximize efficiency when making Chocolate Puff Pastry?
Use a baking schedule that overlaps cooling time with prepping the next meal. Assemble pastries during downtime while dough thaws. Having ingredients measured and ready before starting quickens the process.
For more strategic dessert ideas, check out Chocolate Cut Out Heart Cookies for another planned chocolate pastry dessert, or this inspired Chocolate Explosion Millefeuille recipe for a layered twist that’s great for advanced batch prep.
Planning Takeaways
This Chocolate Puff Pastry has secured a spot in my meal planning system because it balances speedy prep with reliable flavor and texture every time. It’s a versatile treat that fits weeknight dessert needs or casual brunches without adding planning chaos.
- Assemble and freeze unbaked pastries to keep prep stress low on busy days.
- Use quality bittersweet chocolate for consistent melt and flavor without extra steps.
- Pair baking time with meal prep checkpoints to maximize kitchen productivity.
Over time, I’ve rotated this recipe in several ways: making mini chocolate puff pastry rolls for kid-friendly snacks, swapping in nutty spreads for variety, and pairing with simple fruit sides to keep the week balanced.
For the busiest weeks, a batch cooking approach with frozen prepped pastries is the most reliable. It delivers fresh-tasting treats with minimal active cooking.
You can adapt this chocolate puff pastry recipe to any schedule by planning your thaw and bake timings or choosing batch prep or fresh prep methods. It’s one of those dishes that’s as flexible as it is delicious—a true ally for busy cooks.
I encourage you to try this recipe as a planned element in your rotation. With clear steps, strategic ingredients, and make-ahead options, this chocolate puff pastry simplifies dessert and snack times. It’s one less thing to worry about, and a guaranteed way to enjoy a flaky chocolate treat anytime.
For even more planned recipe inspiration, swing by Hidden Heart Chocolate Loaf Cake for a complementary chocolate treat that also fits busy lifestyles. Together, these recipes can anchor your week’s chocolate surprises without the chaos.
Chocolate Puff Pastry

Delight in flaky, buttery puff pastry filled with rich, melted chocolate—an easy and elegant dessert perfect for any occasion.
- Prep Time: 10 minutes
- Cook Time: 20 minutes
- Total Time: 30 minutes
- Yield: 4 servings
- Category: Dessert
- Method: Baked
- Cuisine: French
Ingredients
- 1 sheet frozen puff pastry, thawed
- 100g dark chocolate, chopped
- 1 egg, beaten (for egg wash)
- 2 tbsp powdered sugar (optional, for dusting)
Instructions
- Preheat the oven to 400°F (200°C).
- Roll out the thawed puff pastry sheet on a lightly floured surface.
- Cut the pastry into 4 equal squares.
- Place chopped dark chocolate in the center of each square.
- Fold each square diagonally to form a triangle, sealing the edges with a fork.
- Brush the tops with the beaten egg to achieve a golden crust.
- Place pastries on a baking sheet lined with parchment paper.
- Bake for 15-20 minutes or until puffed and golden brown.
- Remove from oven and allow to cool slightly, then dust with powdered sugar if desired.
Notes
For an extra indulgent twist, add a few raspberries or a sprinkle of cinnamon inside before baking.