
When I first started organizing weeknight dinners around busy schedules, the Chicken Bacon Wrap quickly became a lifesaver. One hectic week, I faced back-to-back meetings and evening commitments, leaving me less than 30 minutes to get dinner on the table. Because I had thoughtfully incorporated the Chicken Bacon Wrap into my meal rotation, I was able to save nearly 45 minutes by prepping parts ahead and using multi-purpose ingredients. This planning breakthrough meant I swapped last-minute stress for calm efficiency and enjoyed a meal my whole family loves.
Fitting the Chicken Bacon Wrap into a weekly plan goes beyond just the recipe. I map out when to prep the bacon and grill the chicken in batches, allowing me to cross-utilize those ingredients in other meals. That strategic approach turns this dish into a weekly staple while reducing overall cooking time. Plus, because the ingredients store well, I can buy in bulk and save trips to the store.
If you’re a busy cook looking for a reliable, planned meal option, this Chicken Bacon Wrap is worth adding to your rotation. It combines delicious flavor with smart preparation tactics—no chaos, just results. For more ideas, check out this grilled chicken bacon wrap recipe, which marries perfectly with my other meal plans.
Your Shopping List:
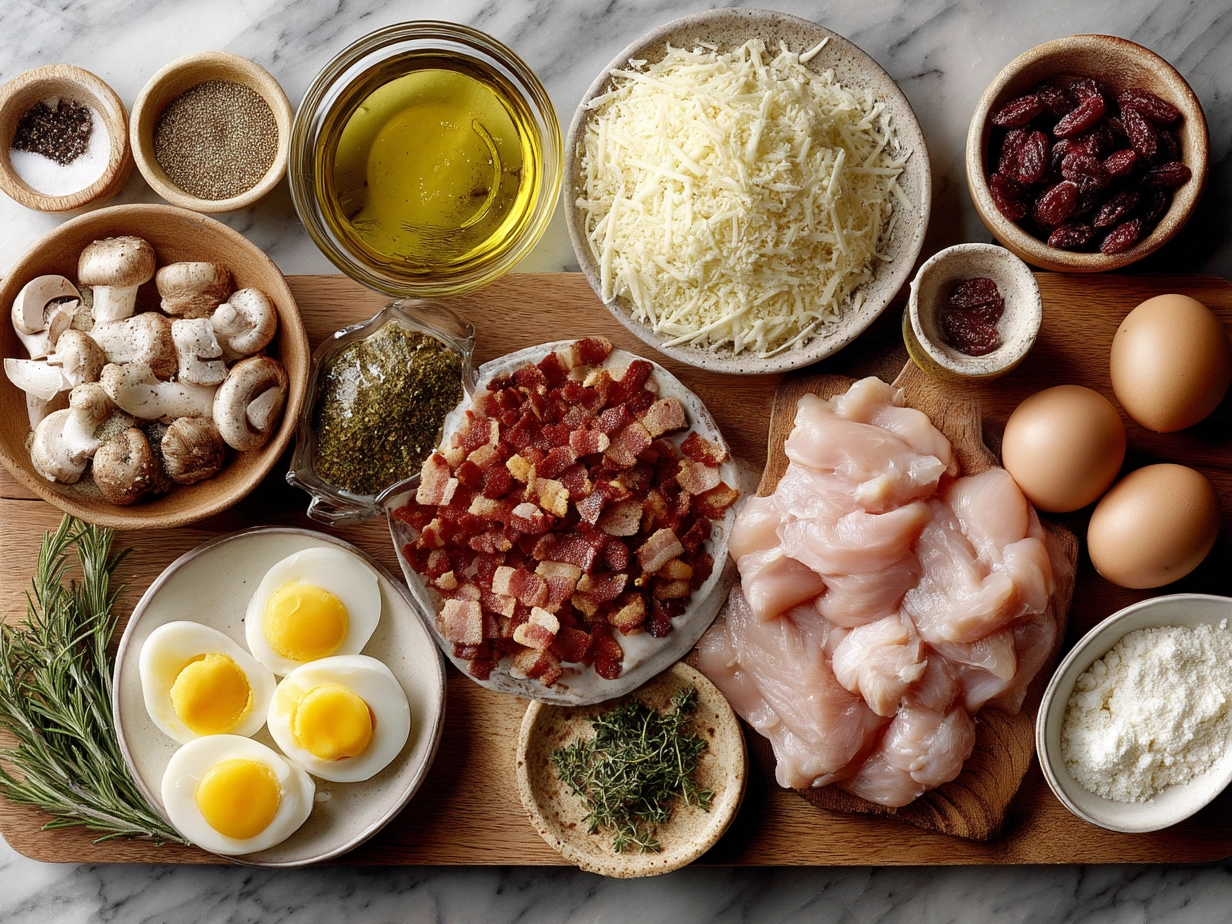
4 boneless, skinless chicken breasts (about 1.5 pounds): I pick chicken breasts that are uniform in size to ensure even cooking for this Chicken Bacon Wrap. These also freeze well if you’re batch prepping.
8 slices of center-cut bacon: Center-cut cooks more evenly and crisps up nicely for a crispy bacon chicken roll. Buying pre-sliced or pre-cooked helps save time.
4 large flour tortillas: Choose sturdy tortillas that hold the chicken and bacon without tearing during the wrapping process.
1 cup shredded cheddar cheese: This adds a melty, flavorful layer inside your Chicken Bacon Wrap and stores well for weeks in the fridge.
1/2 cup diced green onions: I select green onions because they keep fresh longer than regular onions and add brightness to the wrap.
Salt and pepper to taste: Essential pantry staples that you’ll use across many meals this week.
1 teaspoon garlic powder: Adds savory depth without extra prep.
Olive oil spray: For grilling the chicken and crisping bacon evenly.
When shopping for your Chicken Bacon Wrap ingredients, I group proteins like chicken and bacon together, then vegetables, and finally dairy. This saves time wandering aisles. Also, the chicken breasts and bacon slices can be batch cooked and used in multiple recipes—like this air fryer chicken mozzarella wrap or the Mediterranean chicken and orzo dish I plan later in the week.
Store bacon slices in the fridge for up to a week or freeze for longer. Chicken breasts keep fresh up to 2 days but freeze well if you want to prep in bulk. Cheese can stay for weeks chilled, and tortillas last several days at room temperature if unopened.
To save effort, buy pre-sliced cheese and pre-chopped green onions if your local store offers these options. This little adjustment trims off several minutes at prep time for your Chicken Bacon Wrap and the rest of your weekly menu.
The Game Plan:
1. Start by flattening the chicken breasts to an even thickness, about half an inch. This helps them cook consistently and makes wrapping easier. I place them between two sheets of plastic wrap and pound gently with a meat mallet or rolling pin.
2. Season both sides with salt, pepper, and garlic powder. This base seasoning pairs well with the smoky bacon.
3. Partially cook your bacon slices in a pan over medium heat for about 4 minutes. The goal is to render some fat and get them slightly cooked but not crispy yet. This prevents your bacon wrapped chicken breast from burning while still allowing for that perfect crisp later. For more on crisping bacon effectively, I’ve tested tips like these and this discussion.
4. Next, lay a partially cooked bacon strip on top of each chicken breast. Add a generous sprinkle of shredded cheddar and diced green onions. This combination creates a stuffed chicken bacon wrap that delivers flavor in every bite.
5. Roll each chicken breast carefully into a tight wrap, securing the bacon so it wraps fully around. If you want to be extra sure, you can use toothpicks to hold them together.
6. Heat a grill pan or skillet sprayed with olive oil over medium heat. Place the chicken bacon wraps seam side down first to seal. Cook for about 5-7 minutes, turning occasionally until bacon crisps and the chicken is cooked through. Aim for an internal temperature of 165°F.
This is where planning ahead pays off in your Chicken Bacon Wrap routine—if you prep several wraps at once, wrap them individually, and freeze before cooking, you have ready-to-go meals later. When reheating, use an oven or air fryer for best results. While your Chicken Bacon Wrap cooks, take a few minutes to prep any leftover ingredients or set up tomorrow’s meal cases. This keeps weeknight dinners flowing without stress.
If you’re new to bacon wrapped dishes, this strategic workflow helps produce that perfect crispy bacon chicken roll consistently without overcooking the chicken. For extra insights, check out alternative cooking methods for bacon-wrapped chicken breasts.
Plan for about 35-40 minutes total from raw to table with this Chicken Bacon Wrap—less if you’ve batch prepped. Make this part of your meal prep on Sundays, and you’ll have delicious, stress-free dinners ready on busy evenings.
Smart Serving & Meal Planning Ideas:
This Chicken Bacon Wrap works wonderfully as a weekly rotation regular, especially midweek when time is tight but you still want a filling, balanced meal. Pair it with roasted sweet potatoes or a simple side salad that uses ingredients you already have planned. Since the cheese and green onions are common in my meal plan, I often use leftover cheddar in a baked egg dish the next morning.
My favorite planning tip is to make a double batch when you cook these wraps. Serve half fresh and freeze the rest for later lunches or dinners. This way, your Chicken Bacon Wrap acts both as a dinner and a convenient leftover option.
Portion-wise, one wrap per person is usually adequate, but for bigger appetites, add a side of steamed veggies or a grain like quinoa. You can also scale the recipe up easily for gatherings or meal prep multiples.
For variation, stuff your Chicken Bacon Wrap with sautéed mushrooms or swap cheddar for pepper jack to change up the flavor profile without adding complexity. These subtle shifts keep your meal plan flexible and appealing week after week.
Because this recipe uses common ingredients that store well and multitask, it fits perfectly alongside other planned meals like bacon wrapped grilled cheese fingers or Mediterranean chicken and orzo. This creates a smooth flow in your grocery list and prep steps, saving time and reducing food waste.
Planning & Prep Questions
Q: How far ahead can I prep this Chicken Bacon Wrap?
A: You can assemble the wraps up to 24 hours ahead and keep them tightly wrapped in the fridge. For longer storage, freeze them pre-cooked or raw—just thaw overnight before heating. Preparing on Sunday for later in the week works well.
Q: What’s the best make-ahead strategy for Chicken Bacon Wrap?
A: Partially cooking the bacon and prepping chicken breasts in advance is key. Assemble the wraps and either refrigerate or freeze depending on your plan. Reheating in an oven or air fryer helps maintain crispiness.
Q: How do I incorporate this Chicken Bacon Wrap into my weekly meal plan?
A: I slot it for nights with shorter windows—Tuesdays or Thursdays usually—because it reheats well and construction can be done ahead. Pair it with sides you prep earlier in the week for a balanced, quick dinner.
Q: Can I replace the tortillas with lettuce for a low-carb version?
A: Absolutely, swapping for large lettuce leaves works but be mindful of structural differences. You may want to secure the wraps with toothpicks more carefully.
Q: What’s a good strategy to get crispy bacon on this bacon wrapped chicken breast?
A: Starting with partially cooked bacon and finishing wrapped on the grill is effective. For detailed tips, check out how to crisp bacon on a bacon-wrapped chicken breast without burning and the conversation on Bacon wrapped meats – how do you get it crispy?
Q: Can I batch cook multiple Chicken Bacon Wraps and freeze them individually?
A: Yes, individually wrapping each Chicken Bacon Wrap before freezing prevents sticking and keeps flavors fresh. Label with date and reheat directly from frozen if possible.
Q: How long does it take to cook a grilled chicken bacon wrap?
A: Roughly 30 to 40 minutes from start to finish, including the prep steps. Plan some buffer for resting and prep of side dishes.
Planning Takeaways
The Chicken Bacon Wrap has earned its place as a weekly staple because it brings consistent, planned flavor without last-minute scramble. Strategic Chicken Bacon Wrap Tips I rely on include:
- Batch prepping the bacon and chicken separately for flexible assembly on cooking day
- Using sturdy tortillas that hold up well in wraps and reheating
- Cooking partially first to nail crispy bacon without dry chicken
Over time, I’ve also introduced variations like swapping cheddar for Swiss, folding in herbs, or adding sautéed veggies inside the wrap for a fresh spin. These adjustments keep the recipe exciting and adaptable.
For busy weeks, the best approach is assembling several wraps on a Sunday, refrigerating some and freezing others. This balance allows quick meals to pull from fresh or frozen, easing pressure during midweek chaos.
I encourage you to customize this Chicken Bacon Wrap to your schedule and tastes. Once it’s part of your routine, you’ll see how much smoother weekly dinner planning can be. It pairs well with planned meals like grilled chicken bacon wrap or a crispy bacon chicken roll, linking your grocery list and prep actions into a manageable rhythm.
For more organized meal solutions, check out this recipe for bacon wrapped grilled cheese fingers or add Mediterranean chicken and orzo to your plan, combining ingredients smartly across meals.
You’re building a system—this Chicken Bacon Wrap is one of those reliable cornerstones that makes your meal planning feel achievable and satisfying. Keep it simple, stay organized, and enjoy delicious dinners without the stress.
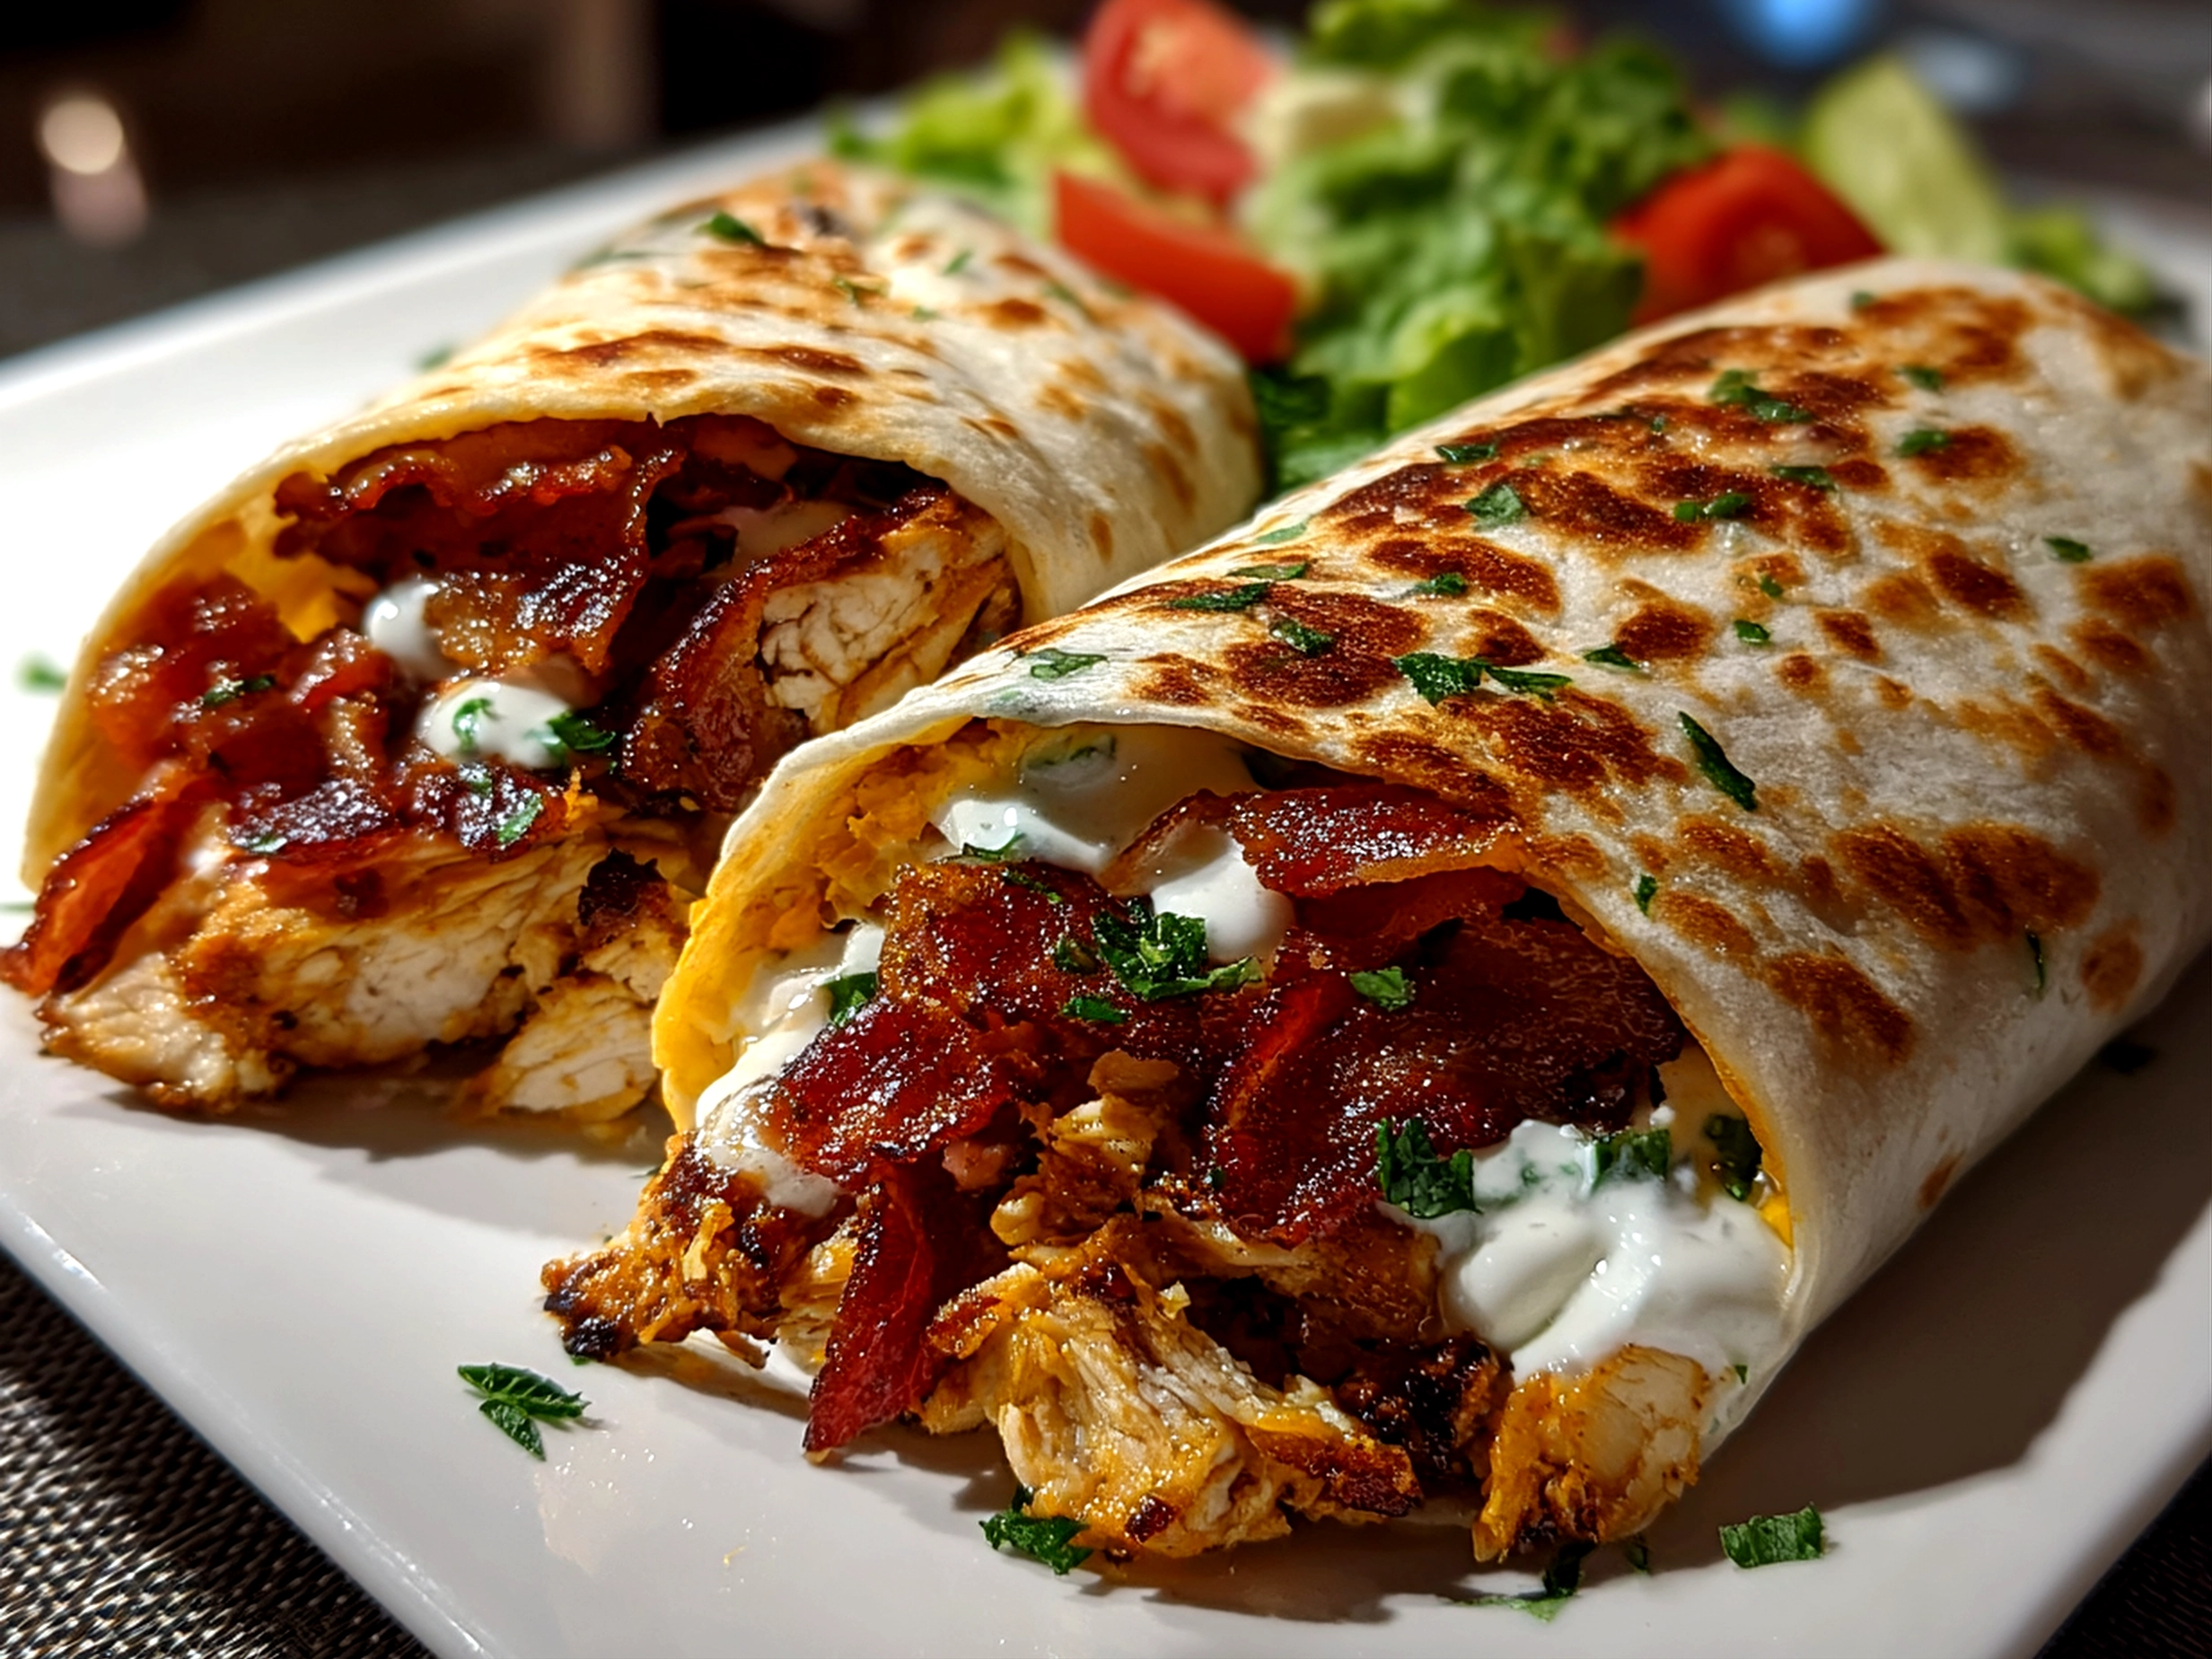
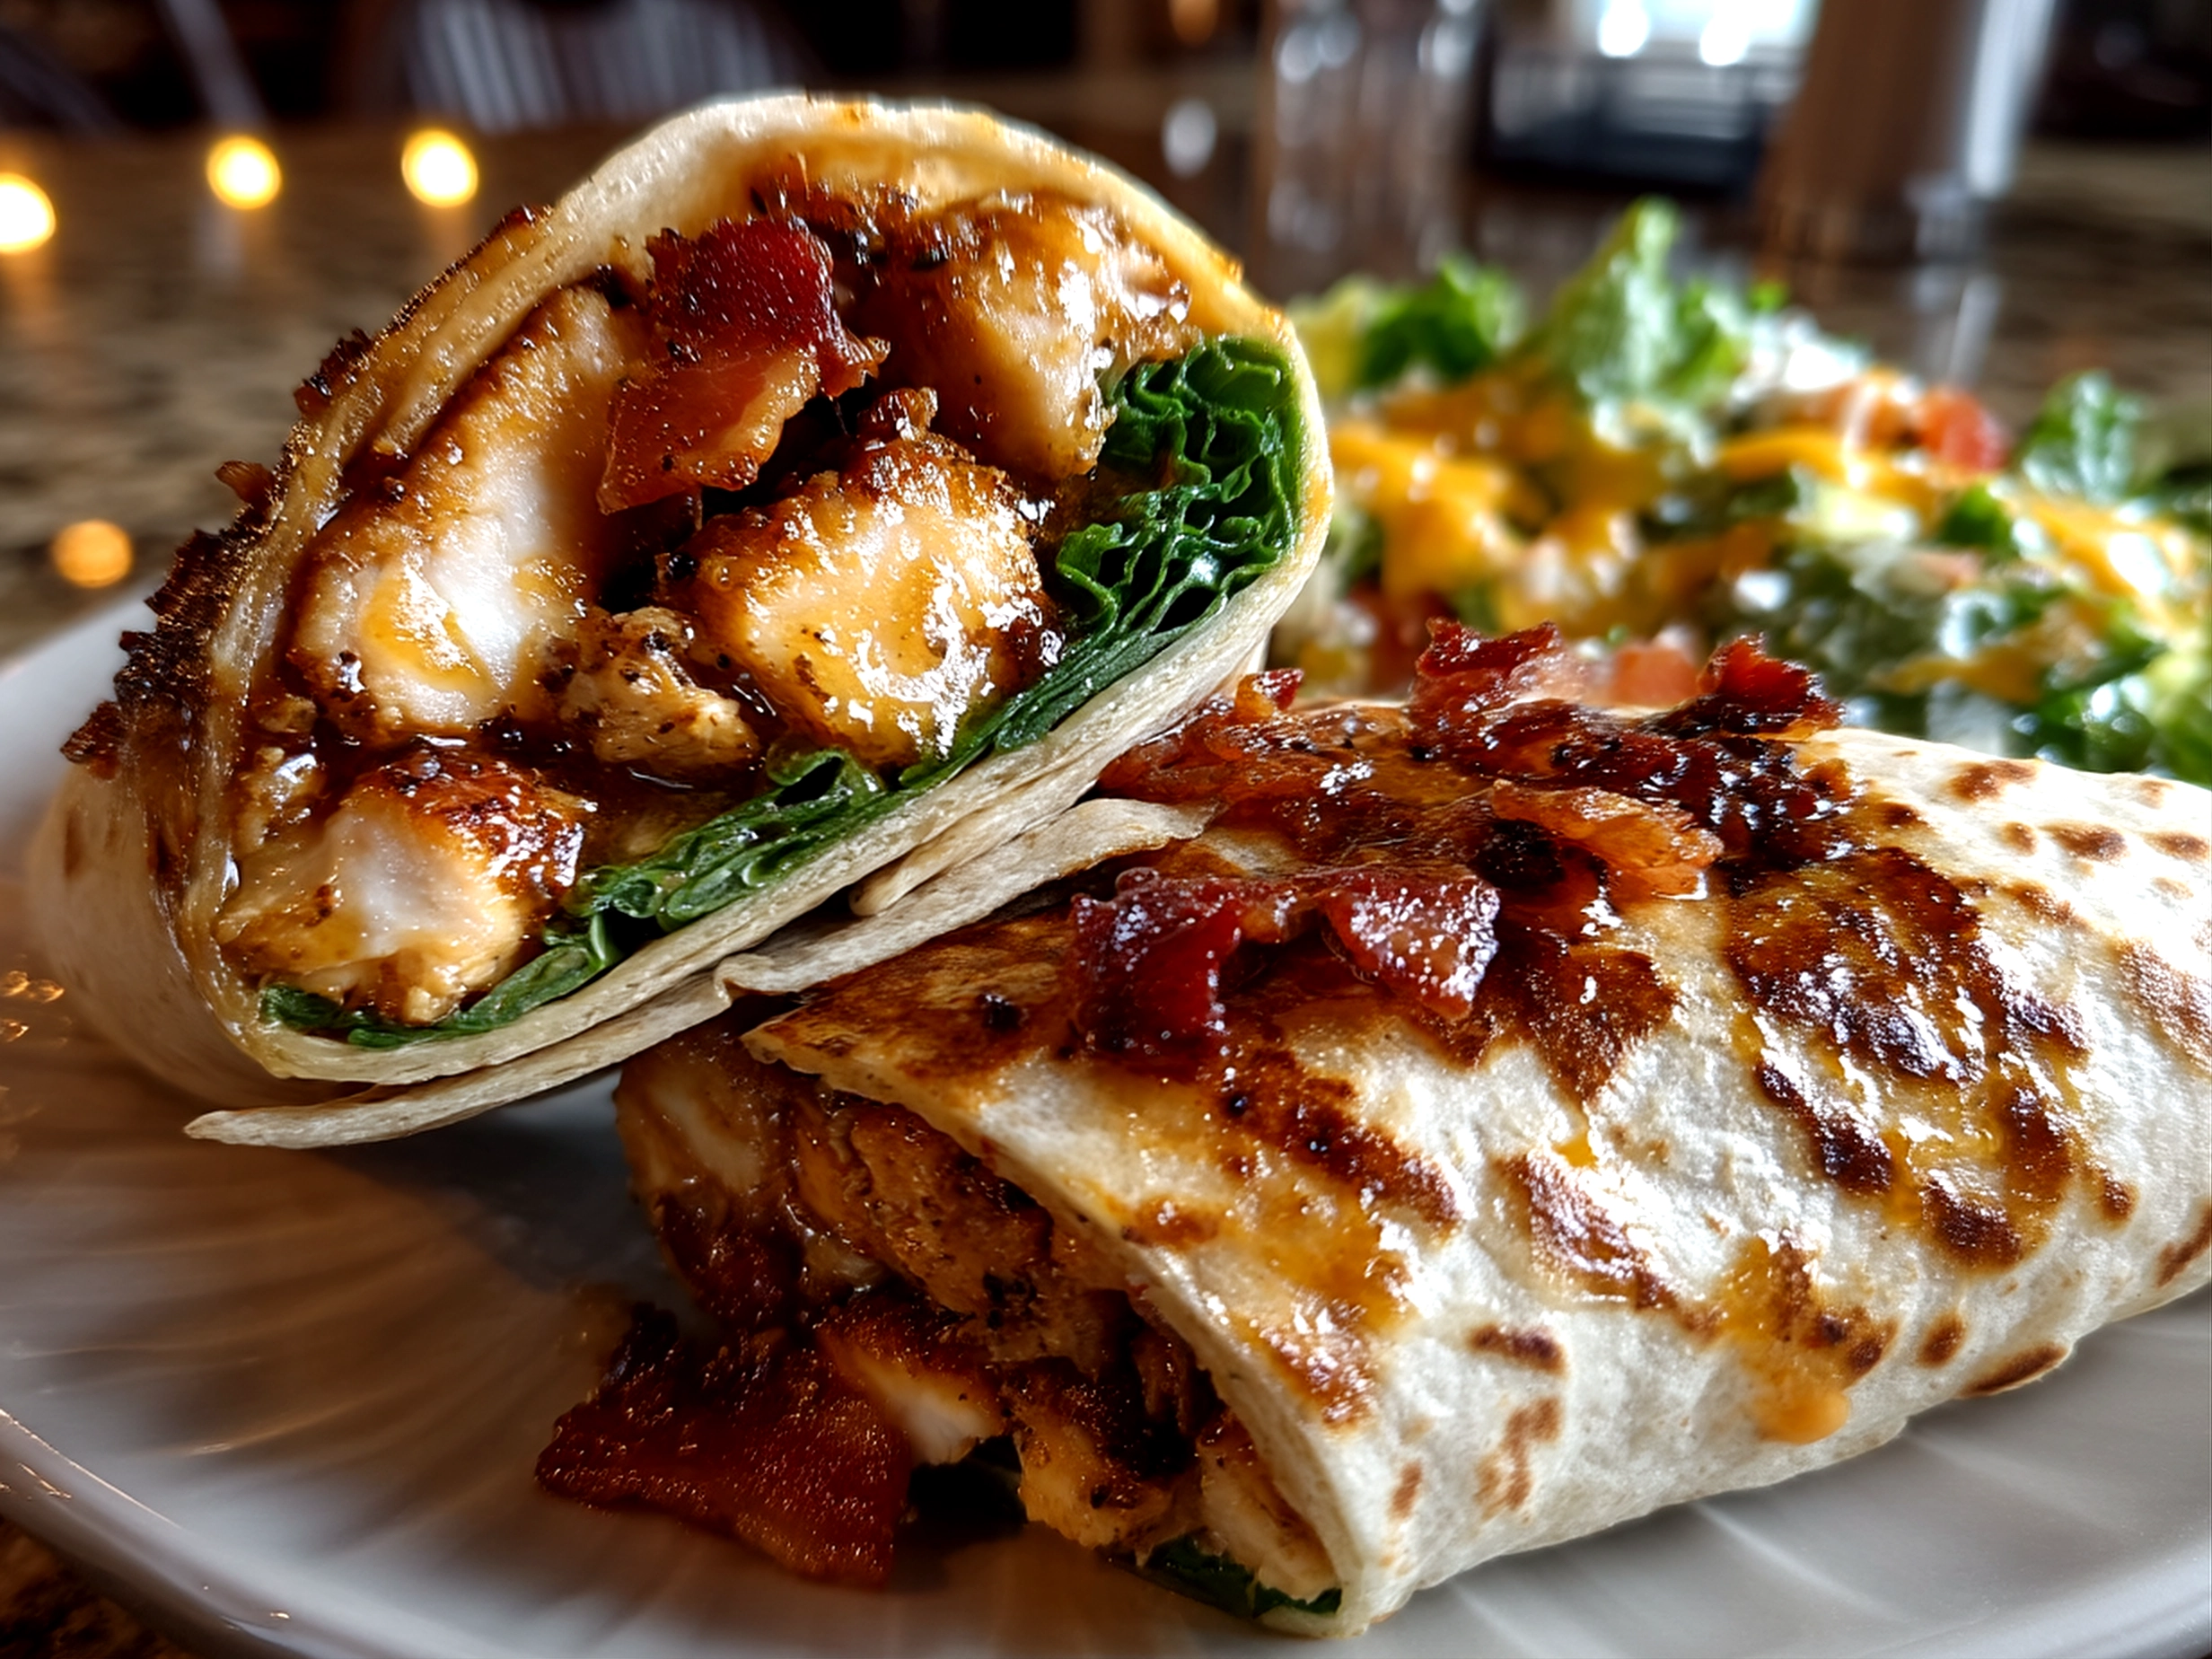
Chicken Bacon Wrap

A delicious and hearty Chicken Bacon Wrap combining tender grilled chicken with crispy bacon, fresh veggies, and creamy sauce wrapped in a soft tortilla. Perfect for a quick lunch or satisfying dinner.
- Prep Time: 10 minutes
- Cook Time: 5 minutes
- Total Time: 15 minutes
- Yield: 2 servings
- Category: Dinner
- Method: Grilled
- Cuisine: American
Ingredients
- 2 large flour tortillas
- 1 cup cooked chicken breast, sliced
- 4 strips of crispy bacon
- 1/2 cup shredded lettuce
- 1/4 cup diced tomatoes
- 1/4 cup shredded cheddar cheese
- 2 tablespoons ranch dressing
- 1 tablespoon mayonnaise
- Salt and pepper to taste
Instructions
- Warm the tortillas in a skillet or microwave until pliable.
- In a small bowl, mix ranch dressing and mayonnaise for the sauce.
- Lay the tortilla flat and spread half of the sauce evenly over it.
- Place sliced chicken breast evenly on the tortilla.
- Add crispy bacon strips on top of the chicken.
- Layer shredded lettuce, diced tomatoes, and cheddar cheese over the bacon.
- Season with salt and pepper as desired.
- Carefully roll the tortilla into a wrap, folding in the sides as you go.
- Optionally, grill the wrap in a panini press or skillet for 2–3 minutes to crisp the outside.
- Serve immediately and enjoy.
Notes
For extra flavor, add sliced avocado or a drizzle of hot sauce before wrapping. Serve with a side of fresh fruit or chips for a complete meal.