
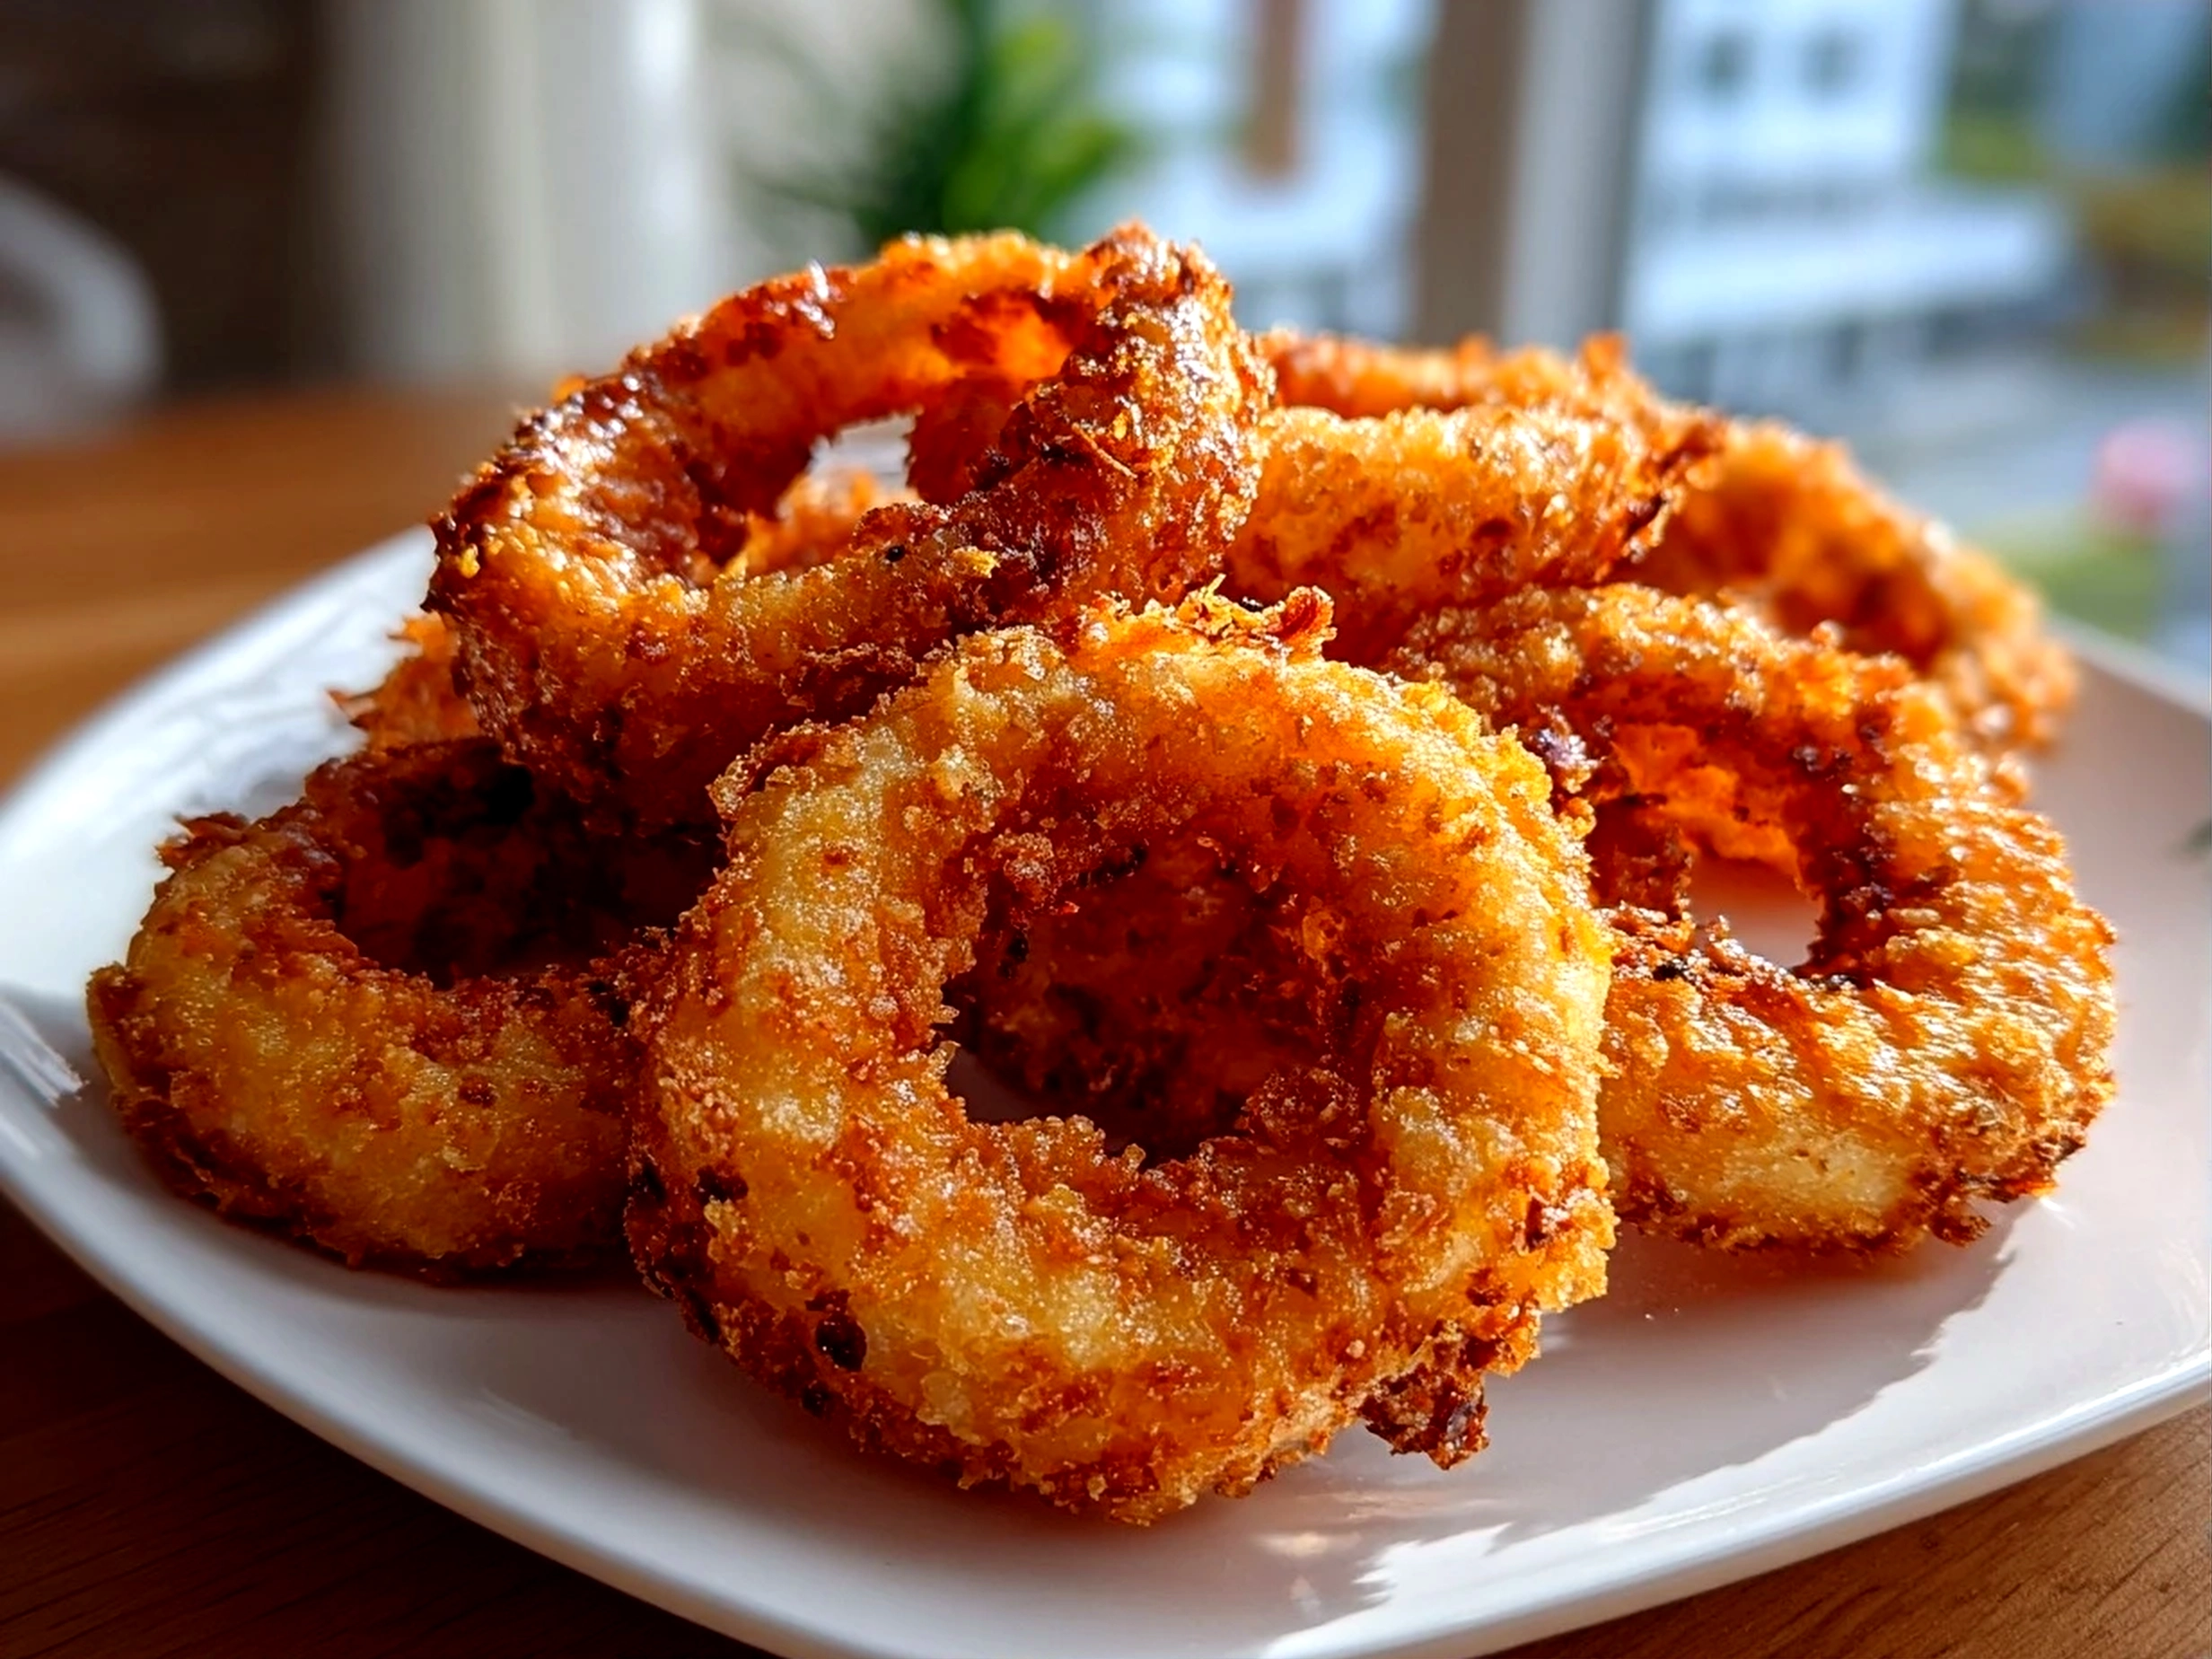
I remember one particularly hectic week when Homemade Crispy Onion Rings became my secret weapon for stress-free dinners. Between work meetings, school runs, and evening activities, I needed a go-to that delivered satisfying flavors without last-minute chaos. Planning these crunchy delights ahead allowed me to carve out at least 30 extra minutes in the evening—time I used to prep sides or simply relax before digging in. The crispy fried onion rings took center stage on the table, performing beautifully as a side and a snack that everyone loved.
Integrating Homemade Crispy Onion Rings into my meal plan was a turning point. I developed a system that starts with prepping the onion ring batter recipe early in the week, so everything is ready when I need it. This step cuts out any scrambling, and the crispy coating onion rings maintain their texture beautifully when reheated. If you’re juggling busy schedules but craving that satisfying crunch, this Homemade Crispy Onion Rings approach is your next favorite trick. It’s a simple yet strategic way to upgrade your meals with minimal effort.
For busy cooks seeking consistent and delicious results without fuss, Homemade Crispy Onion Rings fit seamlessly into your meal planning toolkit. Whether you’re batch cooking or fitting in easy onion ring recipe nights, this plan helps maintain calm and control around dinner. Ready to get organized? Let’s break down exactly what you need and how to make it happen, so your Homemade Crispy Onion Rings come out perfectly every time.
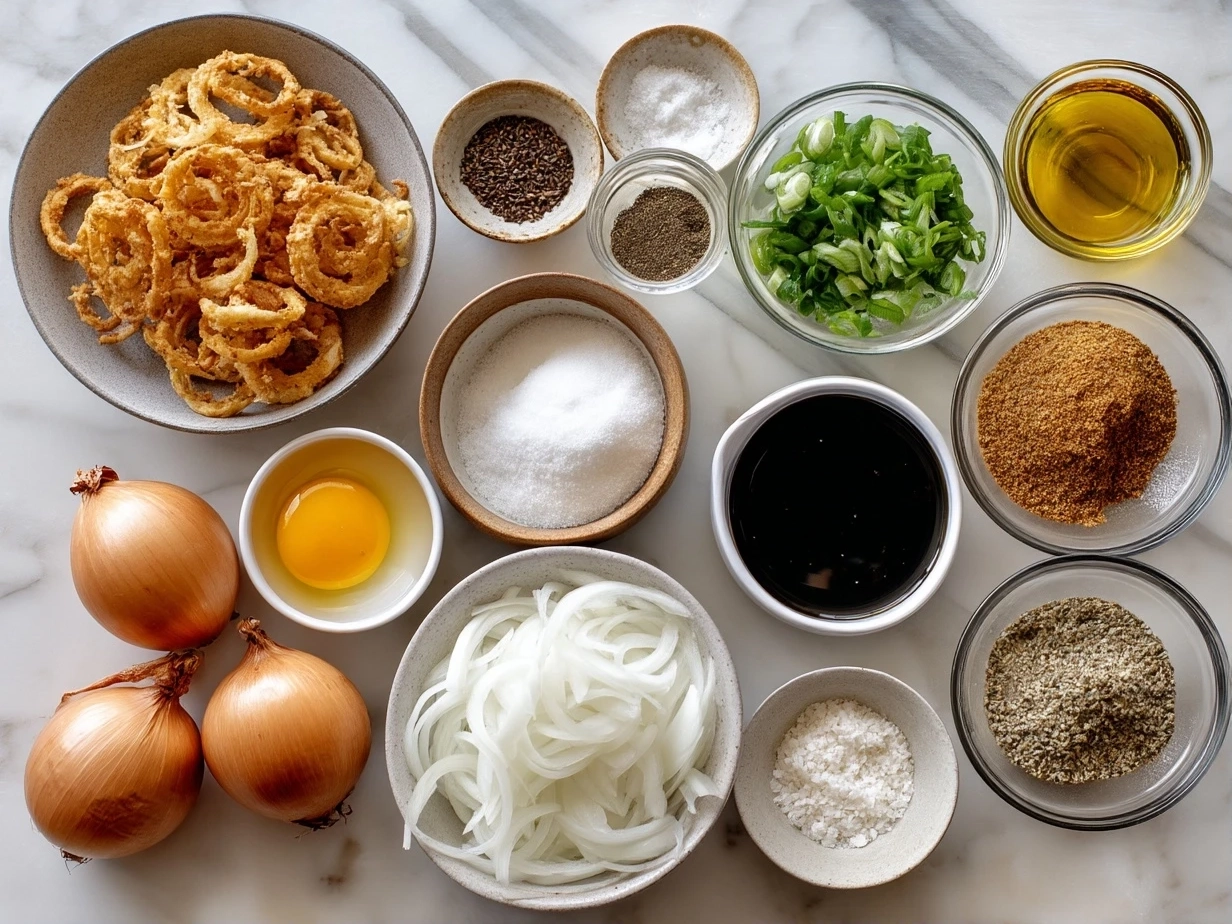
Your Shopping List:
Onion Rings:
- 2 large yellow onions, sliced into ¼-inch rings
- 1 ½ cups all-purpose flour, versatile and stores well for your kitchen staples
- 1 teaspoon baking powder, adds lift to the onion ring batter recipe
- 1 teaspoon salt, balances flavor across dishes
- 1 cup buttermilk, keeps the batter rich and tender—can be swapped with milk plus vinegar if needed
- 2 large eggs, bind the crispy coating onion rings nicely and reheat well
- 2 cups panko breadcrumbs, for that extra crunch in your homemade onion snacks
- Vegetable oil for frying, goes a long way and can be repurposed for other fried favorites like crispy fried chicken tenders from this recipe at TheFoodiePlanner
Grouping these onion ring batter recipe ingredients together when shopping saves time. Flour and baking powder are kitchen staples that last, while buttermilk and eggs should be picked up fresh closer to your cooking day. Panko breadcrumbs work well stored airtight for weeks, so they’re easy to keep on hand for multiple homemade onion snacks or crispy coating onion rings projects.
Planning note: These ingredients overlap beautifully with many dinner recipes like batter-based chicken or fish dishes, making this Homemade Crispy Onion Rings shop even more efficient.
If short on prep time, buy pre-sliced onions or pre-breaded onion rings to save even more. These shortcuts support busy nights while keeping homemade flavors intact. For longer storage, slice onions ahead and freeze them in a single layer on a parchment-lined tray. You can also premix dry onion ring batter recipe ingredients and store in a sealed container, so you’re only adding wet ingredients at frying time.
The Game Plan:
- Start by slicing your onions into even ¼-inch rings. Uniform rings help your Homemade Crispy Onion Rings cook consistently and get that perfectly crispy coating onion rings texture.
- Combine the flour, baking powder, and salt in a large bowl—the base of your onion ring batter recipe.
- In a separate bowl, whisk the buttermilk and eggs. This wet mix keeps your crispy fried onion rings tender inside.
- Dip each onion ring first into the flour mixture, then the wet buttermilk-egg mixture, and finally into the panko breadcrumbs. This three-step coat is the key to that addictive crispy coating onion rings crunch.
- Heat your vegetable oil to about 350°F in a deep pan. Use enough oil to allow the rings some space so they fry evenly without sticking.
- Fry in batches, about 2-3 minutes per batch, until your Homemade Crispy Onion Rings turn golden brown and crisp. Avoid overcrowding the pan to keep the oil temperature stable.
- Use a slotted spoon to transfer rings to a paper towel-lined tray. This absorbs excess oil and keeps the onion rings crispy.
Plan about 35-40 minutes from start to finish, including heating oil and frying. While your first batch fries, prep tomorrow’s veggie sides or portion out snacks for the week to keep meal planning momentum going. If prepping this Homemade Crispy Onion Rings ahead, par-fry the rings and freeze them individually on a baking sheet. When ready to eat, finish crisping in a hot oven for that fresh-out-of-the-fryer crunch.
From experience, sticking to this onion ring batter recipe and frying method creates batch-friendly, crowd-pleasing results. It’s a dependable addition to your regular meal rotation and perfect for mixing up weeknight menus without added stress.
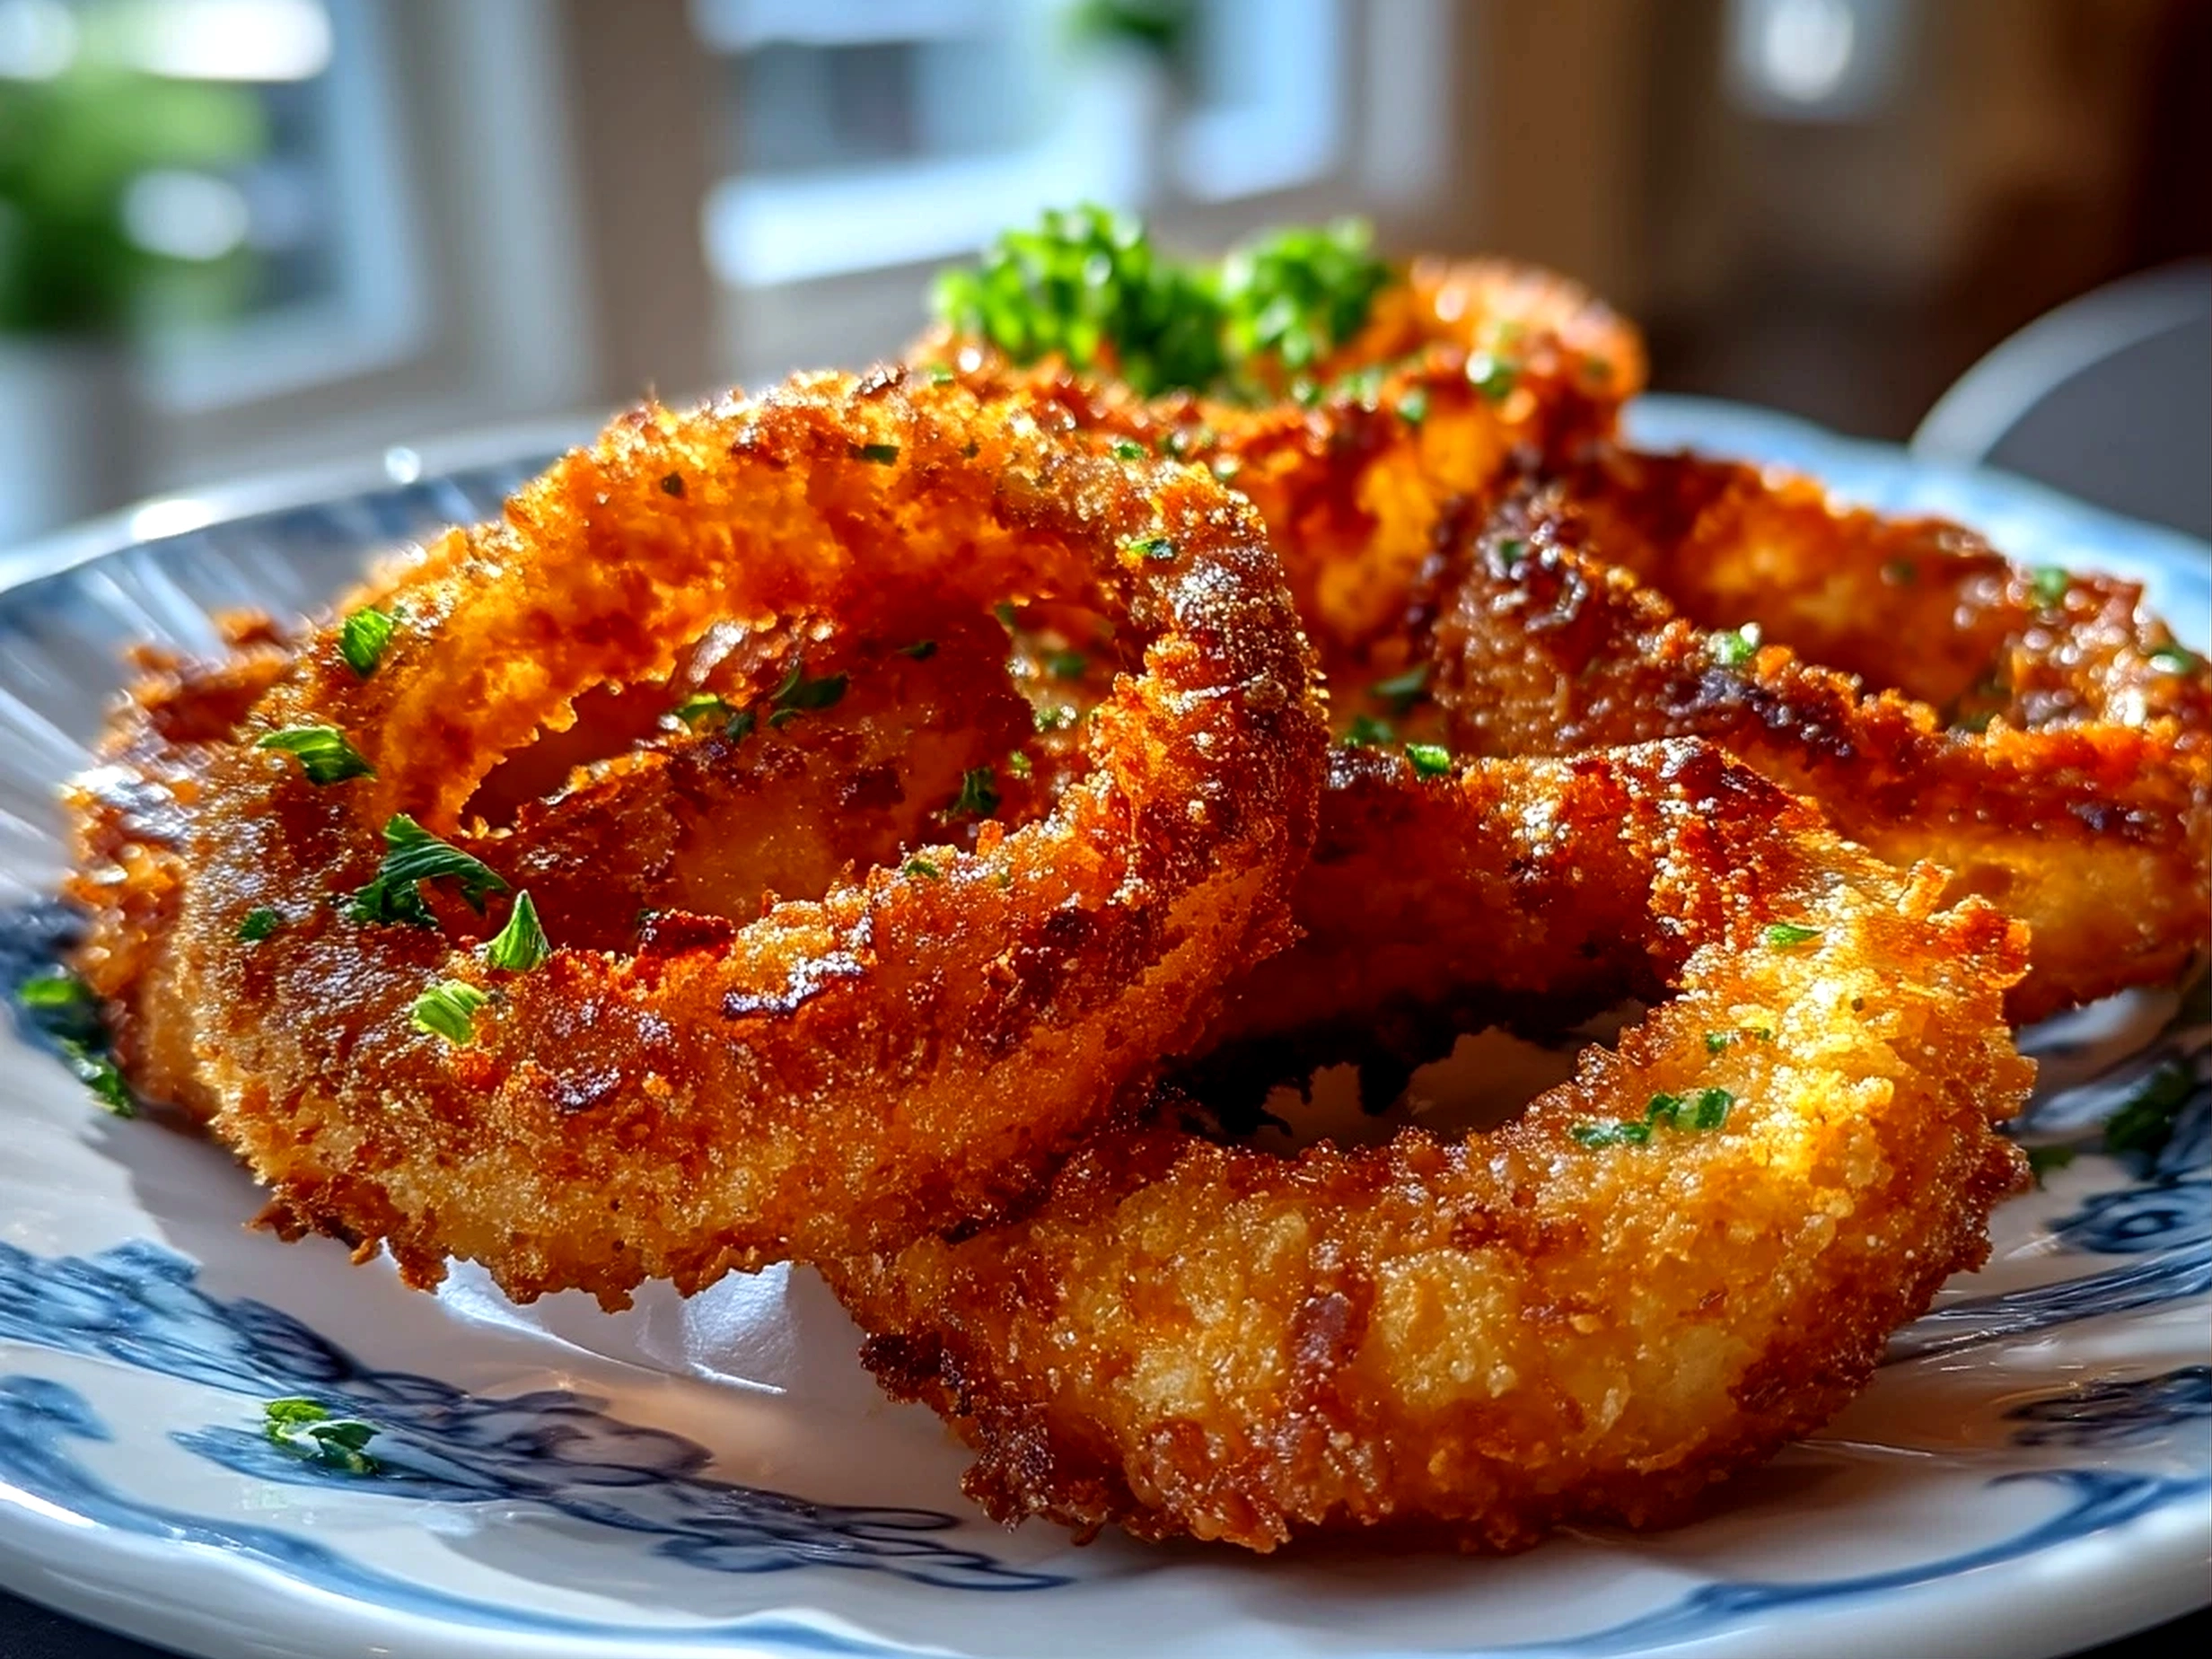
Smart Serving & Meal Planning Ideas:
Planning Homemade Crispy Onion Rings into your weekly meal plan works well because they pair with so many mains and sides. Whether it’s a casual burger night or alongside crispy chicken tenders from TheFoodiePlanner’s favorite recipes, these onion rings bring texture and flavor contrast effortlessly.
Try serving Homemade Crispy Onion Rings with coleslaw or a crisp green salad made from your meal prep stash. Both sides require minimal effort, making the total meal straightforward and balanced. On nights with more time, add baked beans or grilled corn for a bit of variety.
Strategically, I like to plan this Homemade Crispy Onion Rings for midweek meals when I need a quick turnaround. Scale the batch larger for weekend gatherings, where homemade onion snacks like these shine as appetizers or part of a buffet.
If leftovers happen, toss them into a salad or serve them with scrambled eggs for a fun brunch twist. To keep your meal plan flexible, consider swapping panko breadcrumbs for crushed cornflakes or seasoned cracker crumbs for different crispy coating onion rings textures.
You’ll find that Homemade Crispy Onion Rings fit just as well in batch-cooked meals as in swift weeknight fixes. Their versatility is a major win in food planning.
Planning & Prep Questions
1. How far ahead can I prep this Homemade Crispy Onion Rings?
You can prep the onion slices and dry batter mixes up to three days ahead, keeping everything airtight in the fridge. For best batch cooking, partial frying then freezing the rings extends storage up to a month. Just re-crisp in the oven when ready.
2. What’s the best make-ahead strategy for Homemade Crispy Onion Rings?
Par-frying and freezing individual onion rings is my go-to. This method locks in the crispy coating onion rings texture and lets you pull homemade onion snacks out quickly on busy nights. Pre-measure your onion ring batter recipe dry ingredients so you only add wet elements when cooking.
3. Can I adapt this Homemade Crispy Onion Rings for air frying?
Yes, air frying works well by lightly spraying the rings with oil and cooking at 400°F for about 8-10 minutes. This variation cuts down on oil and mess but requires careful timing to maintain that crispy fried onion rings crunch.
4. How do I incorporate this Homemade Crispy Onion Rings into my weekly meal plan?
Plan your onion rings on nights paired with simple mains like grilled chicken or burgers. Batch cook the rings once a week and portion them for meals and snacks. Use your freezer strategically to keep supplies ready without daily prep.
5. Can I make the onion ring batter recipe gluten-free?
Absolutely! Substitute all-purpose flour with a gluten-free blend and use gluten-free panko or crushed rice cereal. The texture stays crunchy, with a bit of a different crispy coating onion rings character.
6. What oils work best for frying Homemade Crispy Onion Rings?
Vegetable or canola oil is ideal for its flavor neutrality and high smoke point. These oils support the even crisp without overpowering your homemade onion snacks.
7. How can I safely reheat leftover Homemade Crispy Onion Rings?
Oven reheating at 375°F for 5-7 minutes rebuilds the crisp texture best. Avoid microwaving, which softens the rings and steals the crunchful experience you want.
Planning Takeaways
Homemade Crispy Onion Rings earned their place in my meal planning system because they combine quick prep with big flavor payoff. The Strategic Homemade Crispy Onion Rings Tips I recommend are:
- Prep your batter dry mix in advance to cut minutes off busy day cooking.
- Par-fry and freeze rings to pull out anytime for fast meals or snacks.
- Plan them alongside simple mains that require minimal additional prep.
Variations I’ve tested include swapping panko for crushed seasoned crackers, using air fryer methods, and integrating the rings into both casual dinners and party snacks.
For busy weeks, batch cooking Homemade Crispy Onion Rings proves most helpful, giving you ready-to-go crispness without the daily rebuild effort. Adapt this recipe to your routines and enjoy reliable, scrumptious results every time.
If your meal plan needs a rotation regular that’s flexible and crowd-friendly, add Homemade Crispy Onion Rings to your lineup. With strategic prep and smart storage, it’s a reliable crowd-pleaser that simplifies your weekly cooking.
For more ready-to-go dinner ideas, pair with TheFoodiePlanner’s crispy chicken tenders with dipping sauce. For a video and homemade onion ring recipe inspiration, check out this fried onion rings (& VIDEO!) resource. If you want to try a different twist on the batter, this Fantastic Onion Ring Batter Recipe is worth a look. For a thin-and-crispy option, see Crispy Onion Rings – Love Bakes Good Cakes.
With planning and practice, your Homemade Crispy Onion Rings become a dependable and delicious staple that fits into your weekly meal rhythm. You’ll feel confident, organized, and ready to enjoy every crunchy bite.
Homemade Crispy Onion Rings

These homemade crispy onion rings feature a perfectly crunchy coating and tender onions inside, making them an ideal snack or side dish for any occasion.
- Prep Time: 15 minutes
- Cook Time: 15 minutes
- Total Time: 30 minutes
- Yield: 4 servings
- Category: Snack
- Method: Fried
- Cuisine: American
Ingredients
- 2 large yellow onions, sliced into 1/2-inch rings
- 1 cup all-purpose flour
- 1 teaspoon baking powder
- 1 teaspoon salt
- 1/2 teaspoon black pepper
- 1 cup buttermilk
- 1 large egg
- 1 1/2 cups panko breadcrumbs
- Vegetable oil, for frying
Instructions
- Separate onion slices into rings and set aside.
- In a medium bowl, mix flour, baking powder, salt, and black pepper.
- In another bowl, whisk together buttermilk and egg.
- Dip each onion ring first into the flour mixture, then into the buttermilk mixture, and finally coat with panko breadcrumbs.
- Heat vegetable oil in a deep pan or fryer to 350°F (175°C).
- Fry onion rings in batches for 2-3 minutes or until golden brown and crispy.
- Remove and drain on paper towels.
- Serve hot with your favorite dipping sauce.
Notes
For extra flavor, add a pinch of smoked paprika or cayenne pepper to the flour mixture. Serve with spicy mayo or classic ketchup for dipping.