
There was one week recently when my calendar was packed back-to-back, and I knew dinner prep was going to be my biggest stress point. I planned to make Homemade Bread ahead of time, setting it up over the weekend to free up several evenings. This simple strategic move saved me at least 90 minutes across the week, turning what usually felt like a chaotic dinner scramble into a calm, satisfying ritual. Cutting corners on convenience foods while still serving warm, fresh bread was a major win.
Planning Homemade Bread ahead fits snugly into my meal rotation, emerging every week as a reliable staple. I like having that fresh loaf ready, knowing it pairs well with everything from soups to salads to quick sandwiches. The best part is batching the bread dough on Sunday, letting yeast fermentation do the work while I cross other things off my list. For busy cooks who want a practical, delicious solution, this is an efficient place to start.
This approach isn’t about a rigid routine, but a manageable system that respects how hectic weeknights actually get. By planning early and keeping the ingredients straightforward, Homemade Bread becomes a stress-relieving asset, not an extra chore. If you’re looking for a smart way to bring homemade goodness into your meals, this could be your next rotation regular. For more ideas that pair beautifully, check out my pumpkin cornbread with cinnamon honey butter recipe for a seasonal twist that keeps things fresh throughout your week.
Your Shopping List:
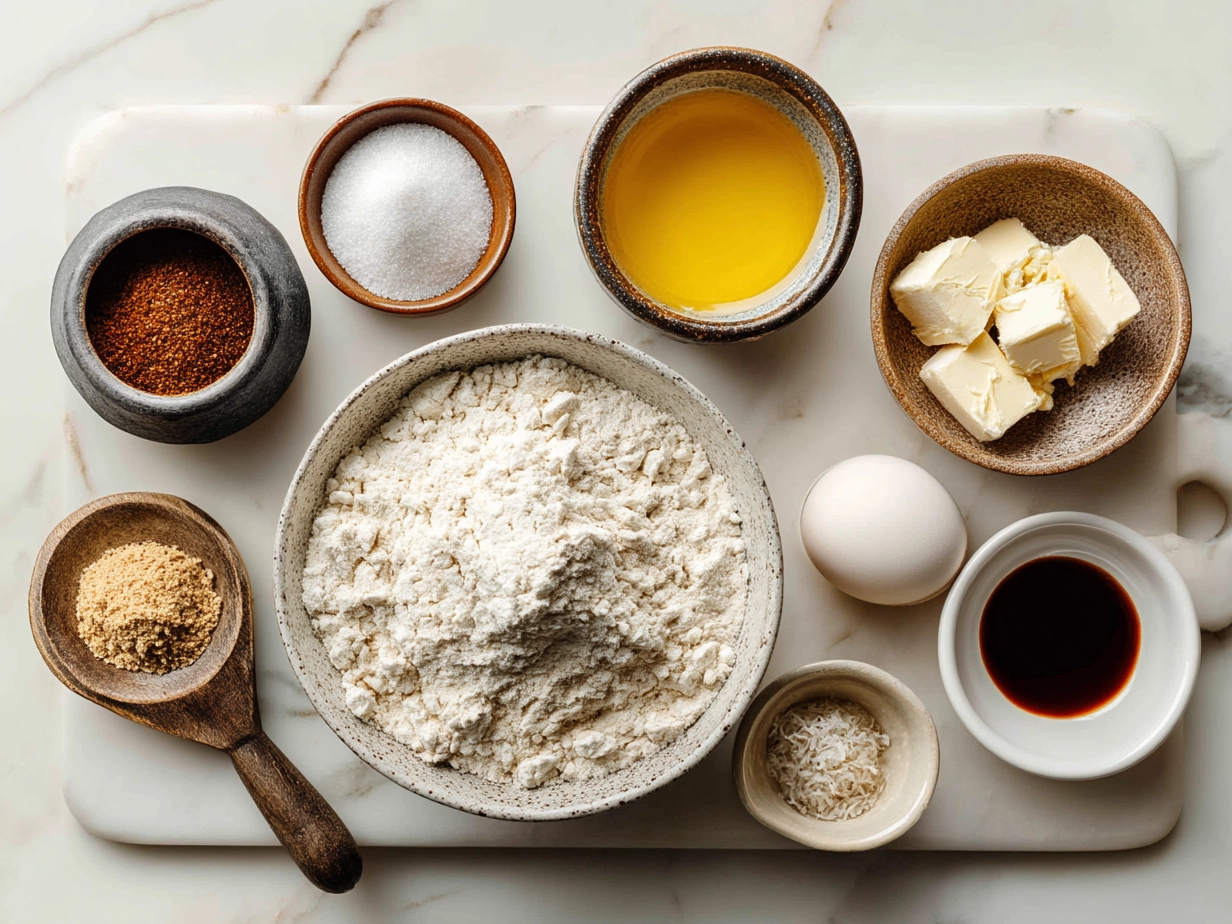
When gathering ingredients for your Homemade Bread, I stick to essentials that stretch across multiple meals and store well. Here’s the core list that supports both efficiency and flavor:
- 3 ½ cups all-purpose flour (I choose this because it stores long-term and works well in multiple bread recipes)
- 1 packet active dry yeast (2 ¼ tsp) (bring this home from the baking aisle; yeast has a good shelf life when sealed)
- 1 ½ tsp salt (basic seasoning that doubles for soups or roasts)
- 1 ½ cups warm water (about 110°F) (use filtered if possible for best results)
- 1 tbsp olive oil or melted butter (adds richness and keeps the bread moist)
Group these together when shopping for your Homemade Bread to save time at the store. I like to keep yeast on hand in my pantry because I make bread dough regularly, and it lasts months if unopened.
You can also prep some of these ahead. For example, measure your flour and salt into a sealed bag so when it’s bread day, you’re not measuring from scratch. Olive oil can be portioned in small containers if you’re modifying fat content for other recipes during the week.
Buying yeast pre-packaged is already efficient, but if you want more control, some brands sell larger jars of active dry yeast, which cuts down on last-minute stops. Plus, this Homemade Bread base works equally well for artisan bread styles or softer sandwich loafs, so the ingredients pull double duty.
Want a different texture? Add honey or sugar as a strategic swap, which you can keep in your pantry for sweetening teas or oatmeal too. Keeping your shopping list lean but adaptable helps keep Homemade Bread at the top of your weeknight rotation. It’s a solid investment in your meal planning groundwork.
The Game Plan:
1. Activate your yeast: Combine warm water with yeast in a large bowl. Let it sit for about 5-10 minutes until it bubbles and foams. This step confirms yeast fermentation is on track and boosts rising time.
2. Mix the dough: Add flour, salt, and olive oil to the yeast mixture. Stir with a wooden spoon until it begins forming bread dough. It should be sticky but pull away from the bowl edges slightly.
3. Kneading bread: Turn the dough onto a lightly floured surface. Knead for 8-10 minutes. This strengthens gluten, improving texture. If you prefer minimal hands-on time, you can try a no-knead artisan bread technique borrowed from amazing artisan bread methods, where a longer fermentation replaces kneading for structure.
4. First rise: Place the dough in an oiled bowl, cover with a clean towel or plastic wrap. Let it rise in a warm spot for 1 to 1 ½ hours until doubled. You’ll feel the satisfying softness indicating successful bread rising.
5. Shape: Deflate the dough gently, shape it into a loaf or round, then place it on a baking sheet or loaf pan.
6. Second rise: Cover again and let rise for about 30-45 minutes. This last bread rising adds volume and lifts your loaf before baking.
7. Bake: Preheat oven to 375°F. Bake bread for 25-30 minutes until golden brown and hollow-sounding when tapped underneath.
8. Cool: Transfer Homemade Bread to a cooling rack for at least 20 minutes before slicing. This step locks in moisture and finishes setting the crumb.
Plan for about 3 hours total from start to table with this Homemade Bread, but much of that is hands-off while the yeast fermentation and rising happen. If you want to batch prep, you can refrigerate dough after the first rise for up to 24 hours, then shape and bake when ready.
Make a double batch and freeze unbaked loaves to pull out and bake fresh on your busiest nights. Bread dough freezes well if wrapped tightly, and this habit has saved me on more than one overwhelmed evening.
While your Homemade Bread bakes, use the time to prep tomorrow’s salad ingredients or a simple soup base. This layered planning keeps weekly meals flowing with less last-minute effort.
If you’re interested in different bread textures or want a no-knead option, check out this Amazing Artisan Bread for 40 Cents a Loaf – No Kneading, No … recipe. It’s a practical alternative when a hands-off approach suits your week better.
Smart Serving & Meal Planning Ideas:
This Homemade Bread performs well throughout the week. I often plan it as a Tuesday dinner centerpiece alongside a quick soup or roasted vegetables. It’s a versatile pairing that rounds out dinners and works beautifully for lunches the next day.
Scaling your batch is easy. Need a smaller loaf? Cut the ingredient quantities in half and reduce rising time slightly for faster turnaround. For family-style dinner prep, double the recipe and freeze extras for convenient grab-and-go homemade goodness.
Serve with flexible sides like simple green salads, steamed veggies, or a prepared dip that can be used in multiple meals—think hummus or herb-infused yogurt. These sides share ingredients with other weeknight meals, emphasizing economical grocery use.
Leftovers? Slice your Homemade Bread thin, toast for sandwiches, or cube for croutons. Depending on how your week shapes up, I switch between fresh baking or repurposing crumbs to avoid waste and keep dinners interesting.
Because Homemade Bread is a weekly staple in my meal plan, I’ve paired it several times with other planned recipes like pumpkin cornbread with cinnamon honey butter and seasonal bakery treats that fit cohesive weekly menus. For dessert pairing, lightweight gingerbread men cookies best homemade recipe offer a balanced end to the meal, and spiced gingerbread brownies are great later in colder months.
Planning tip: set aside one afternoon for batch baking bread and some desserts. This consolidates oven time and frees evening schedules up considerably.
If you want a guide for a tangy sourdough twist, The Clever Carrot’s beginner’s guide gives a clear outline for when you want to branch into artisan bread techniques without impacting your meal plan flow.
Planning & Prep Questions
Q1: How far ahead can I prep this Homemade Bread?
A1: You can prepare the dough up to 24 hours ahead by refrigerating it after the first rise. Shape and bake when ready for fresh results. This sit-and-rise method suits batch cooking and spreads out your workload nicely.
Q2: What’s the best make-ahead strategy for Homemade Bread?
A2: Mixing the dough on a weekend or a slow evening and refrigerating allows flexibility. Plan to bake it fresh right before meals or freeze shaped dough for emergencies. I favor having frozen dough in rotation for unexpected busy nights.
Q3: How do I incorporate this Homemade Bread into my weekly meal plan?
A3: Identify a low-intensity cooking night to start your dough, such as Sunday evenings. The next day, bake for fresh homemade bread ready for lunches and dinners. Pair with simple sides or batch prepped soups for a balanced plan.
Q4: Can I make a no-knead version?
A4: Yes! No kneading means less hands-on time with longer yeast fermentation. This fits well if you want minimal active cooking but still crave that homemade texture, inspired by artisan bread recipes.
Q5: How long does Homemade Bread store after baking?
A5: Fresh bread is best within 2-3 days stored in a bread box or paper bag. Freezing extends life up to 3 months. Cut ahead for freezing portions and thaw as needed.
Q6: Can I freeze Homemade Bread dough?
A6: Yes, dough freezes well after the first rise. Wrap tightly and thaw overnight in the fridge. This is perfect for batch cooking and flexible weeknight meals.
Q7: What if my bread doesn’t rise properly?
A7: Check yeast freshness and water temperature during activation. Warm water around 110°F promotes yeast fermentation. If it’s too hot or cold, rise times and results suffer. Consistent planning makes this step routine.
For troubleshooting and more in-depth bread science, this Reddit discussion on why bread machines make inferior bread is a great read for meal planners contemplating tools versus hands-on approaches.
Planning Takeaways
Homemade Bread has earned its place in my meal planning system because it’s adaptable, delicious, and light on last-minute effort. Integrating yeast fermentation and thoughtful kneading bread steps creates consistent results with manageable work.
Strategic Homemade Bread Tips:
- Batch-prep dough during low-stress times for hands-off rising over several hours.
- Freeze shaped or unshaped dough as a kitchen safety net when the schedule tightens.
- Multiply ingredients to align with weekly meal themes and minimize extra shopping.
Over time, I’ve tried variations like no-knead artisan bread for more relaxed weeks, classic soft sandwich loaves for family lunches, and enriched dough versions for weekend brunch. Each adapts to my schedule and kitchen mood.
Weeks packed with appointments benefit from starting dough the night before, while calmer weekends provide room for kneading bread and shaping loaves. This flexibility ensures Homemade Bread never becomes an additional source of stress.
If you want a midday baking alternative that still fits pragmatic meal planning, I recommend trying quick artisan breads highlighted in the Amazing Artisan Bread resource. They need less active prep while delivering lovely crust and crumb.
Finally, this loaf serves as a kitchen anchor. It pairs well across numerous meals, helps stretch ingredients, and reduces reliance on store-bought options. Your Homemade Bread journey can be both intentional and creative, reinforcing the value of organized, delicious meal planning.
For more tasty additions, you might enjoy pairing this bread with my gingerbread men cookies best homemade recipe or spiced gingerbread brownies, which bring sweetness to your weekly meals without last-minute fuss.
Remember, a little planning turns Homemade Bread from a chore into a reliable kitchen win. Keep it on your rotation and savor how it simplifies and satisfies your week.
Homemade Bread

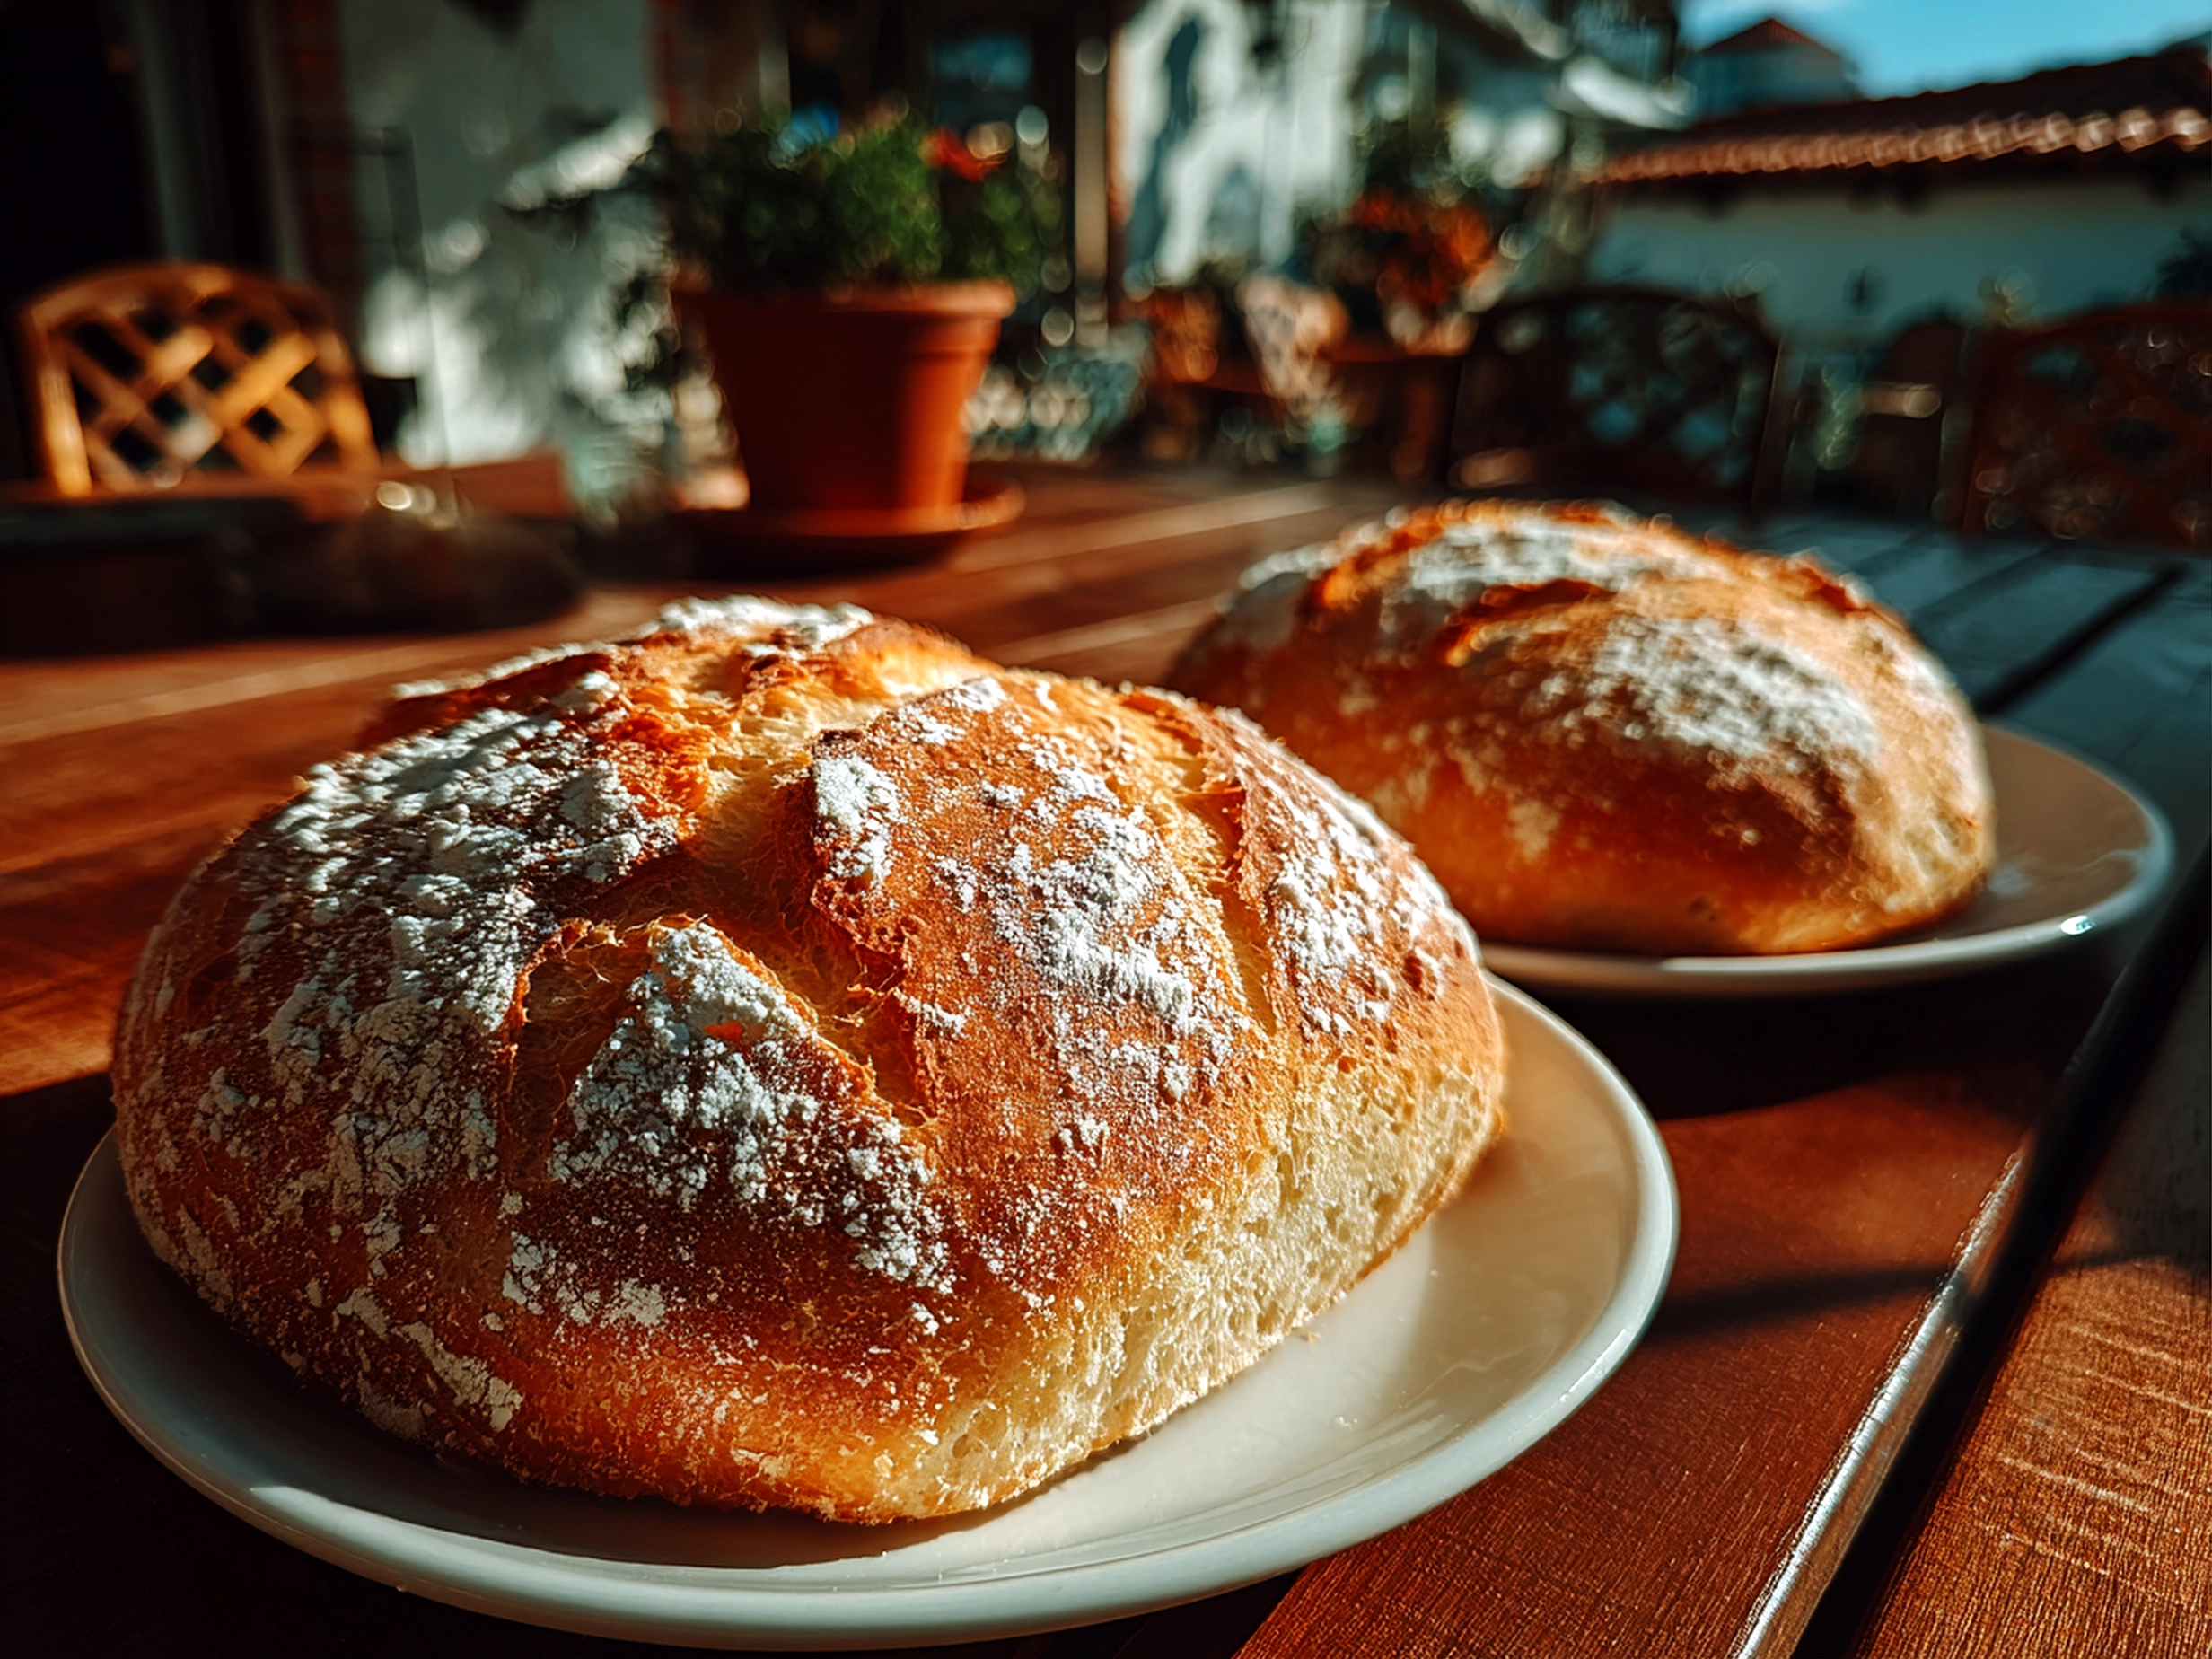
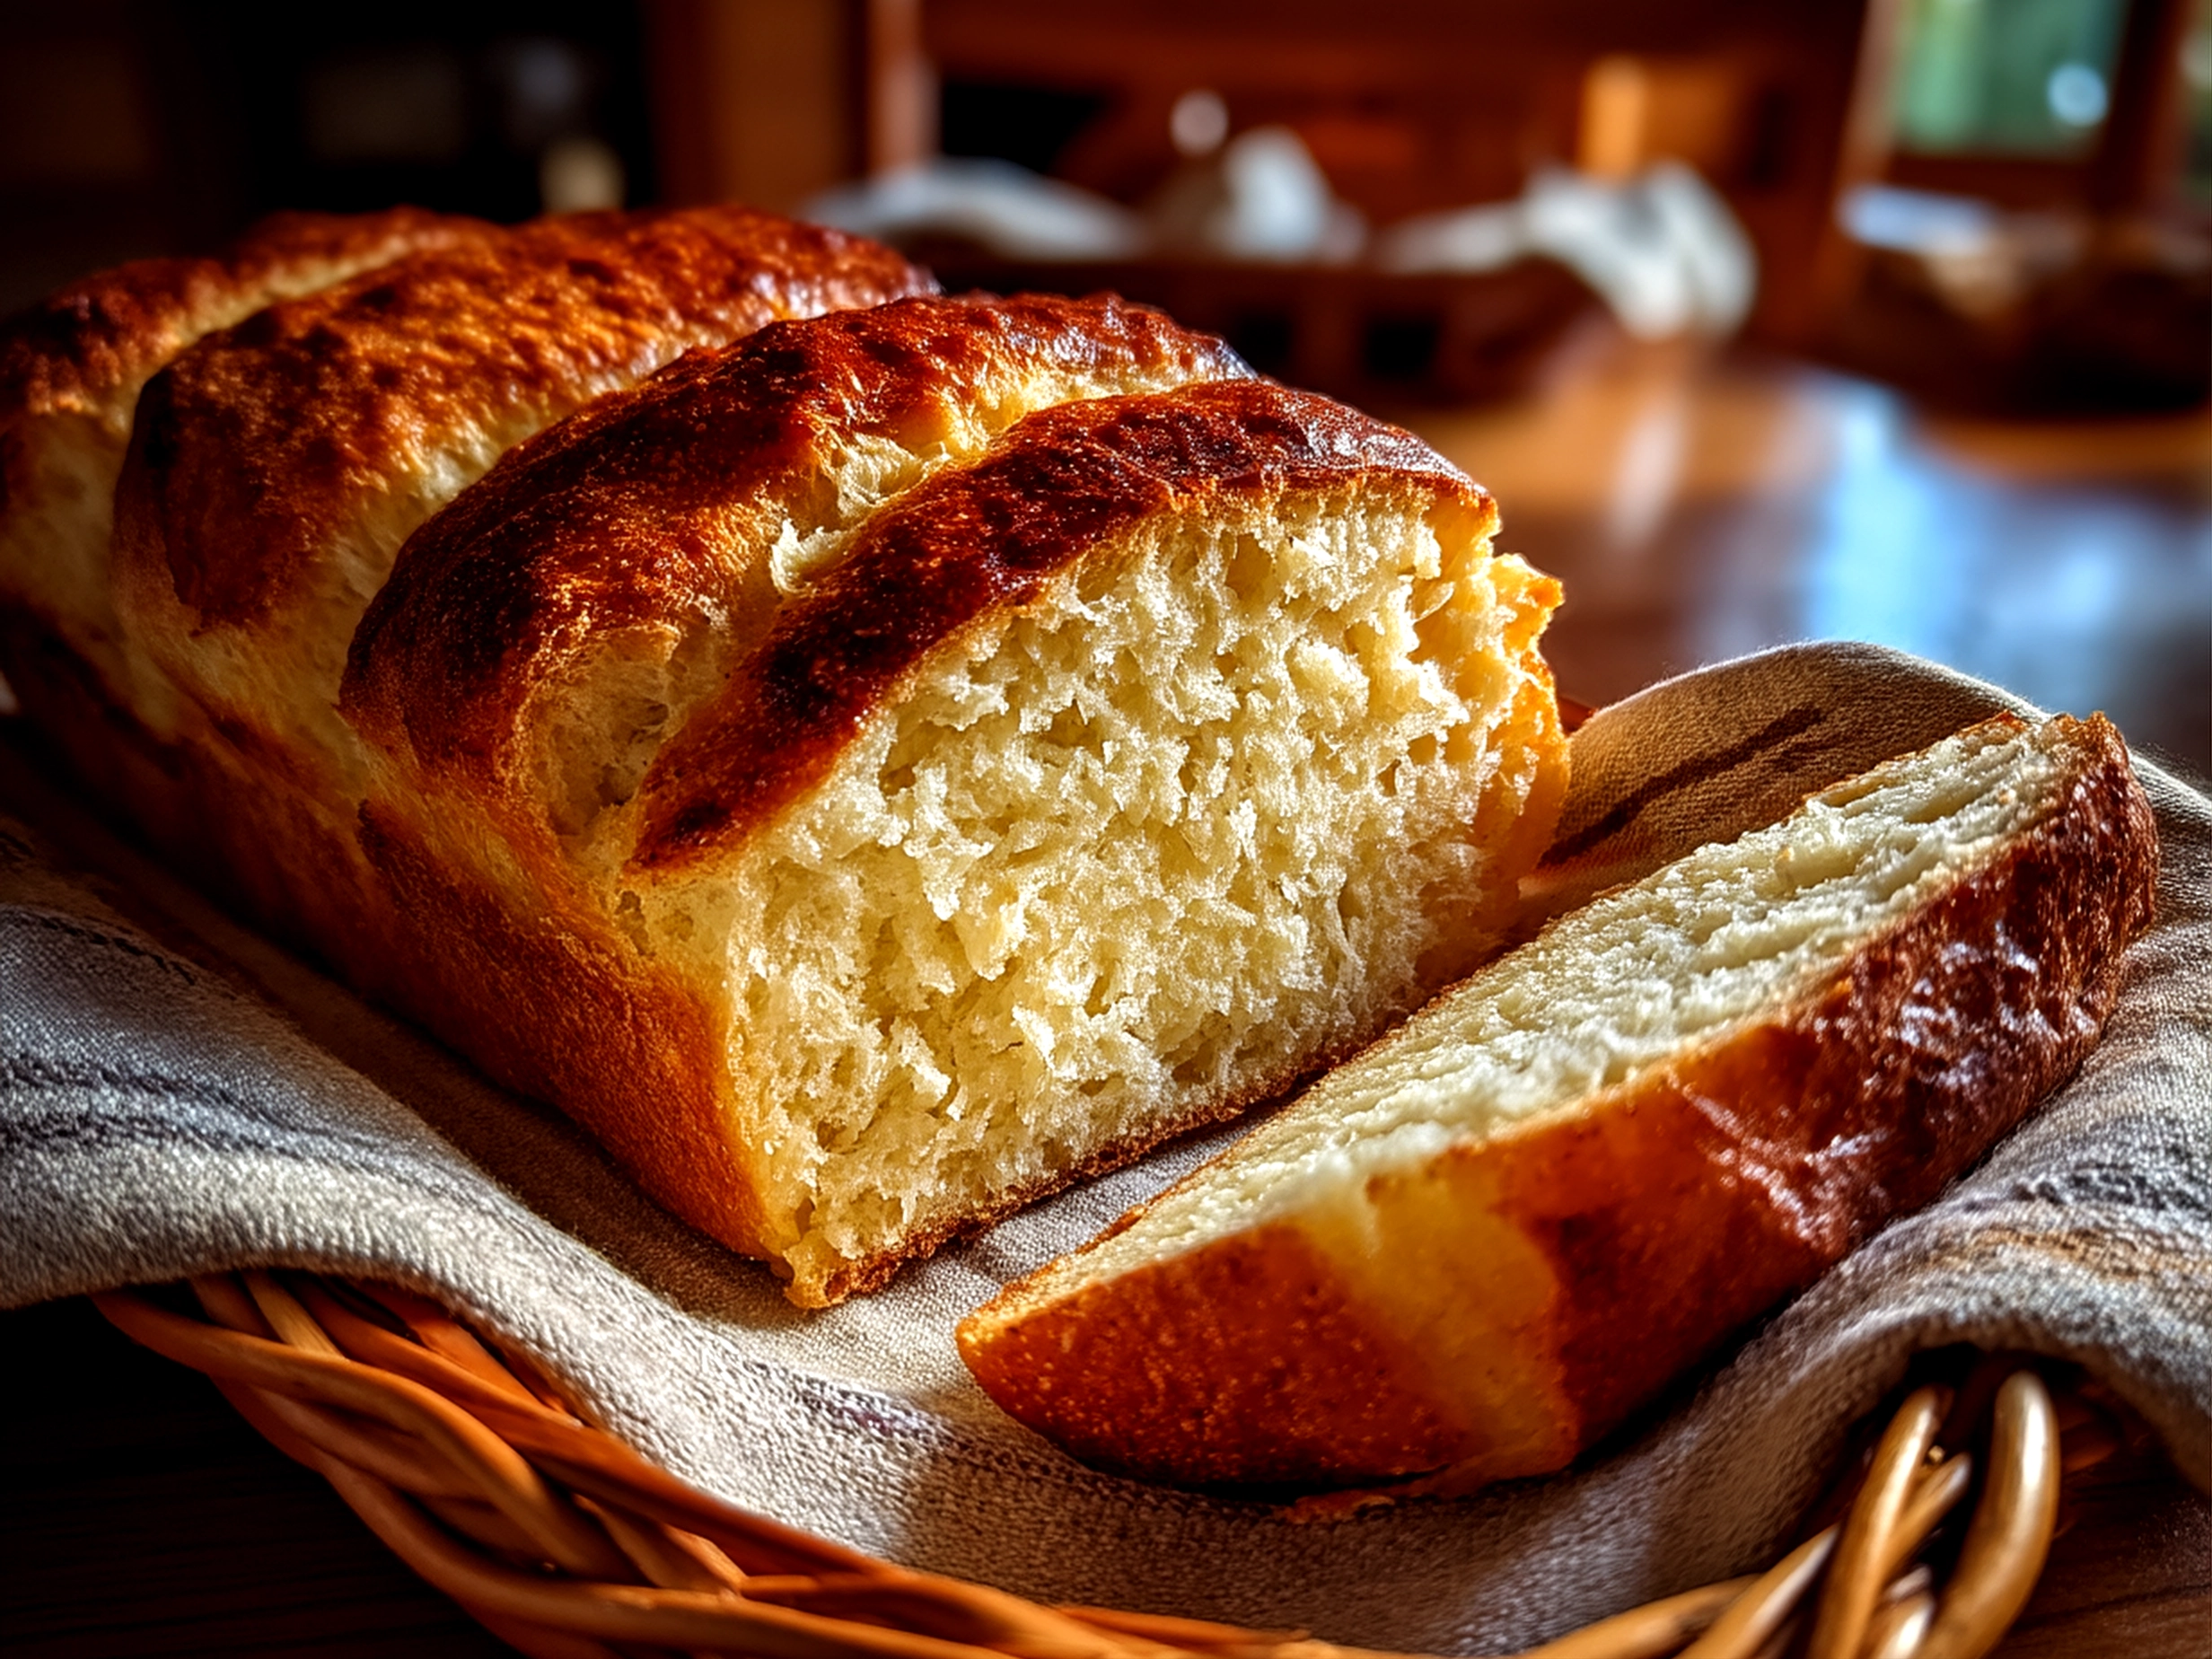
This homemade bread recipe yields a soft, golden loaf with a crisp crust, perfect for sandwiches or enjoying fresh with butter.
- Prep Time: 15 minutes
- Cook Time: 35 minutes
- Total Time: 1 hour 50 minutes
- Yield: 1 loaf (8 servings)
- Category: Dinner
- Method: Baked
- Cuisine: American
Ingredients
- 3 1/2 cups all-purpose flour
- 1 packet (2 1/4 tsp) active dry yeast
- 1 1/4 cups warm water (110°F/45°C)
- 2 tbsp sugar
- 2 tbsp olive oil
- 1 1/2 tsp salt
Instructions
- In a small bowl, dissolve sugar in warm water and sprinkle yeast over. Let sit for 5-10 minutes until frothy.
- In a large mixing bowl, combine flour and salt. Make a well in the center.
- Pour yeast mixture and olive oil into the well. Stir until a dough forms.
- Turn dough onto a floured surface and knead for about 8-10 minutes until elastic and smooth.
- Place dough in a lightly oiled bowl, cover with a damp cloth, and let rise in a warm place for about 1 hour, or until doubled in size.
- Punch down dough, shape into a loaf, and place in a greased loaf pan.
- Cover and let rise another 30-45 minutes until doubled.
- Preheat oven to 375°F (190°C). Bake bread for 30-35 minutes until golden brown and sounds hollow when tapped.
- Remove from oven and cool on a wire rack before slicing.
Notes
For extra flavor, try adding 1 tbsp of dried herbs like rosemary or thyme to the dough before kneading.